Huw Talliss
Undergraduate Computer Scientist and Game Developer
Event Planning Website (Summer 2015 - Present)
For an online gaming community
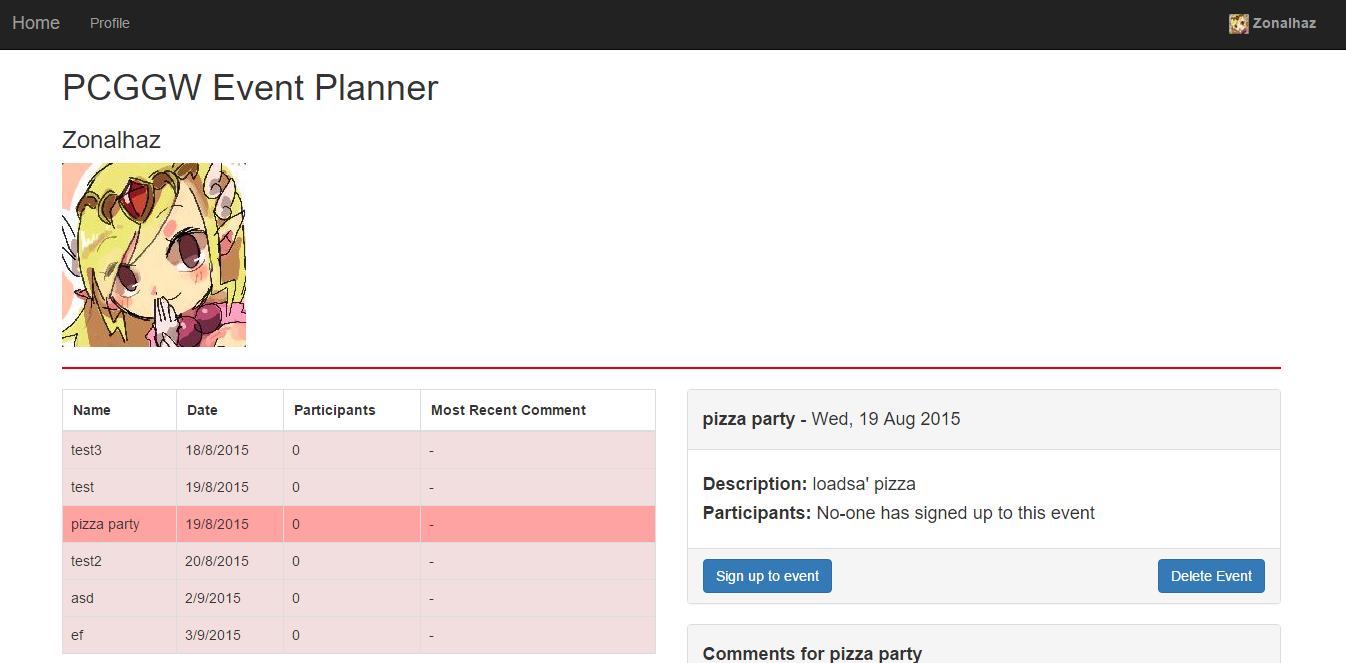
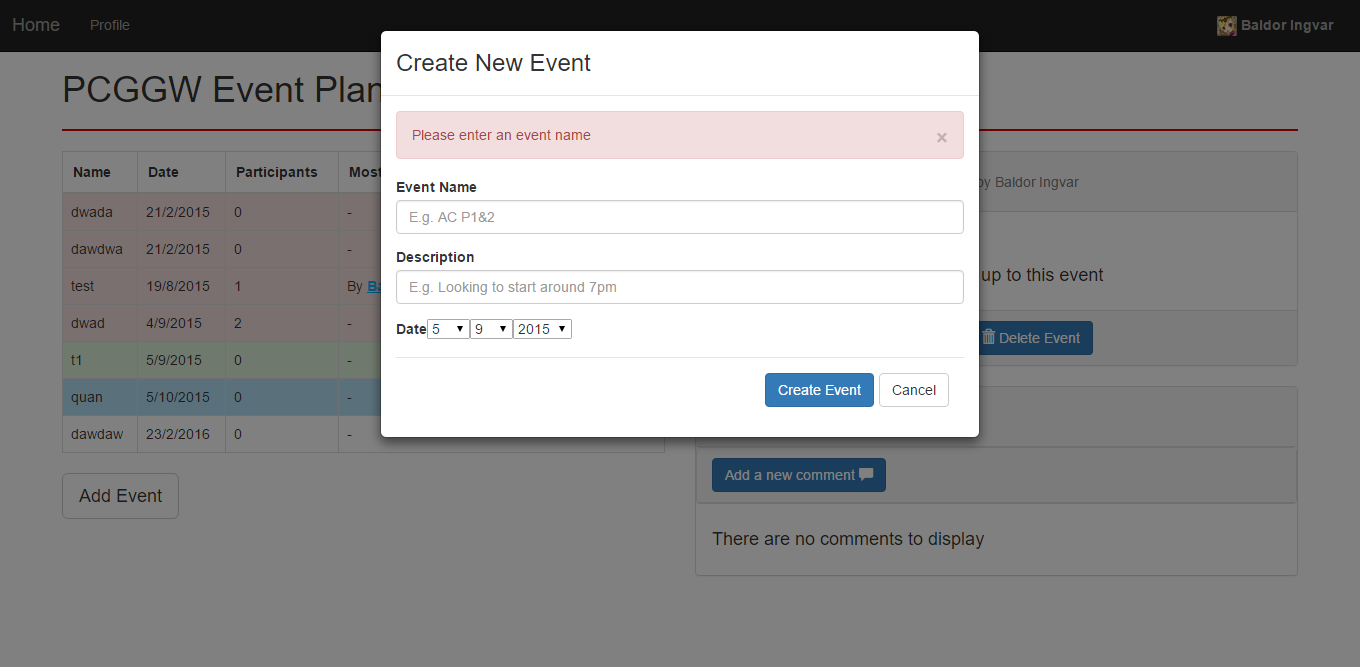
I designed and created an event planning website for an online gaming community to help them manage events signups. It utilised:
- nodejs - Javascript-based server, the core of the website which routes requests
- Jade - Templating Engine used for dynamically creating webpages
- MongoDB - JSON-based database manager

Background
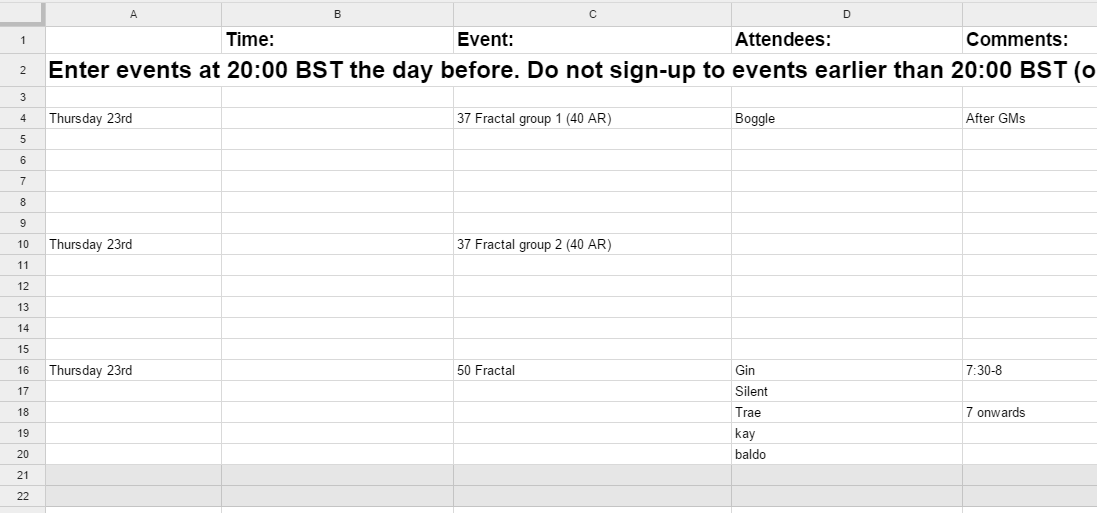
The online gaming community I am a part of (PCGGW) needed a system to be able to plan events to do ingame content with specific group size requirements. The content required groups of 5 people and often there would be 7-9 interested people which required some sort of first-come first-serve signup system. A Google spreadsheet document was intially used to keep track of events and signups along with various other information. issues with this system were quickly apparent. Anyone could freely edit the spreadsheet and it required a lot of work by a couple of people in order to maintain the layout and cleanliness of the document.
Creating The event planner
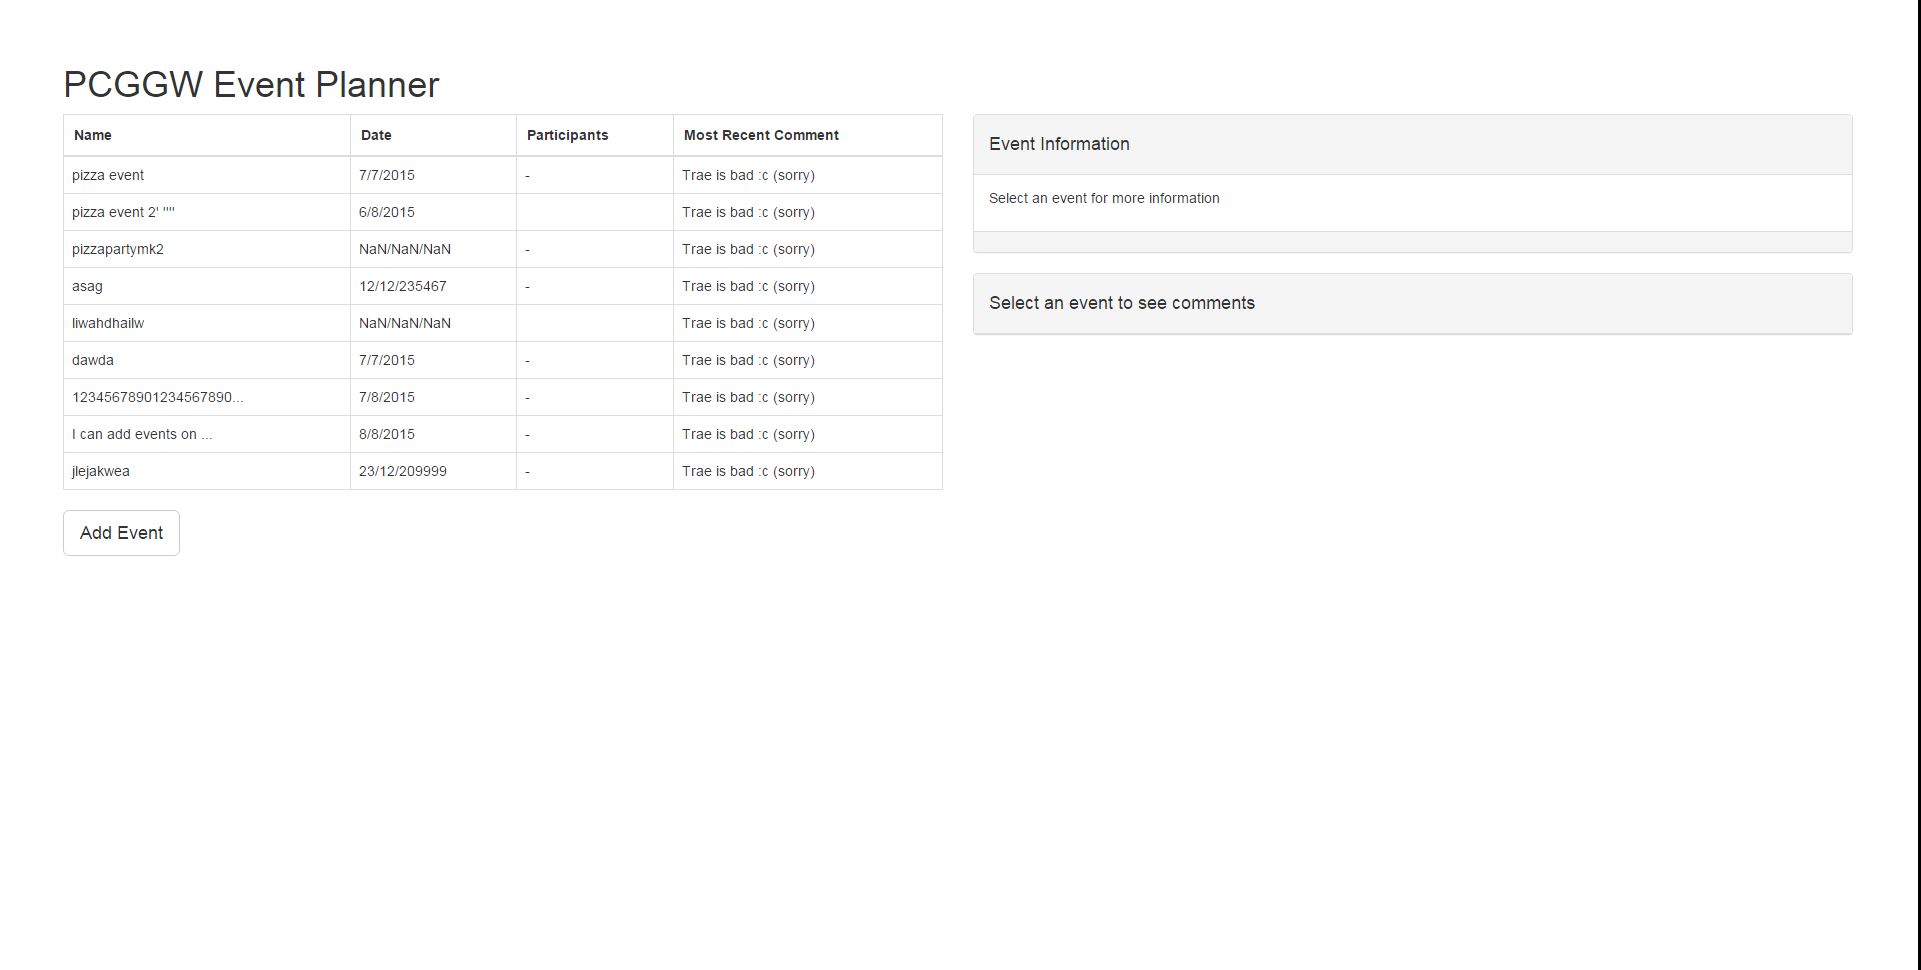
To solve these issues I began creating a specific event planning website. It was important to get a usable website working as quickly as possible to move away from the spreadsheet system so the initial version of the event planner was very simple. Allowing events to be created and deleted and allowing people to sign up to by entering the name of the person attending. In order to perform an action initially, you had to enter a password as a form of very rudimentary security.
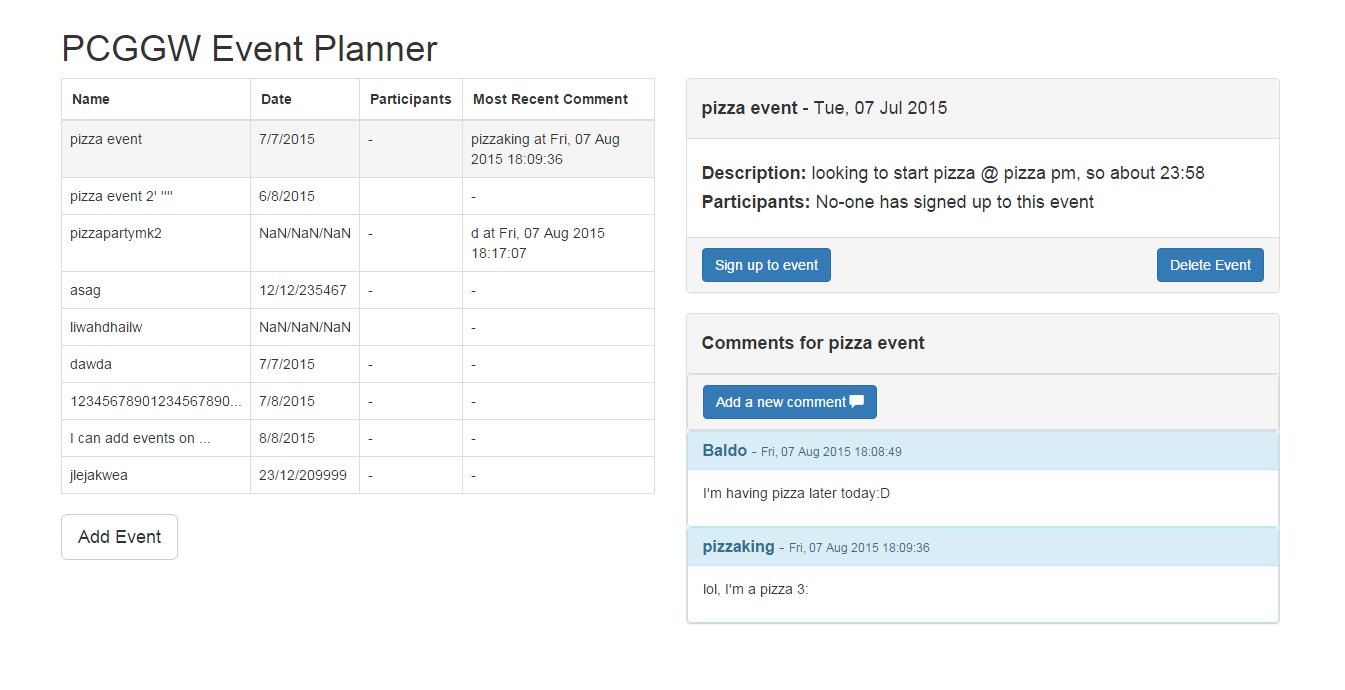
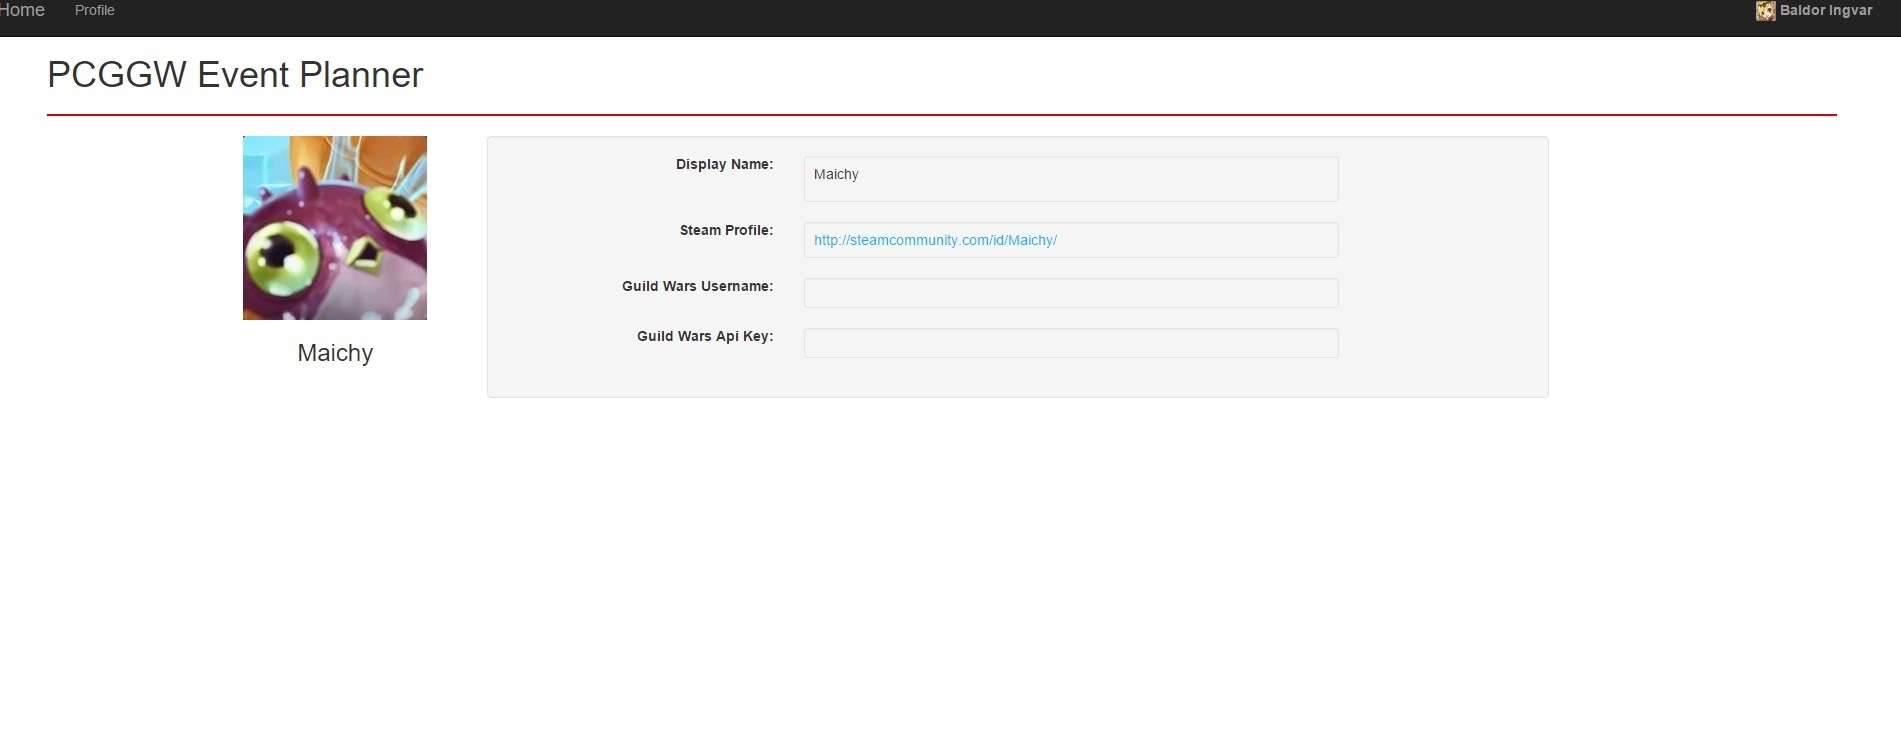
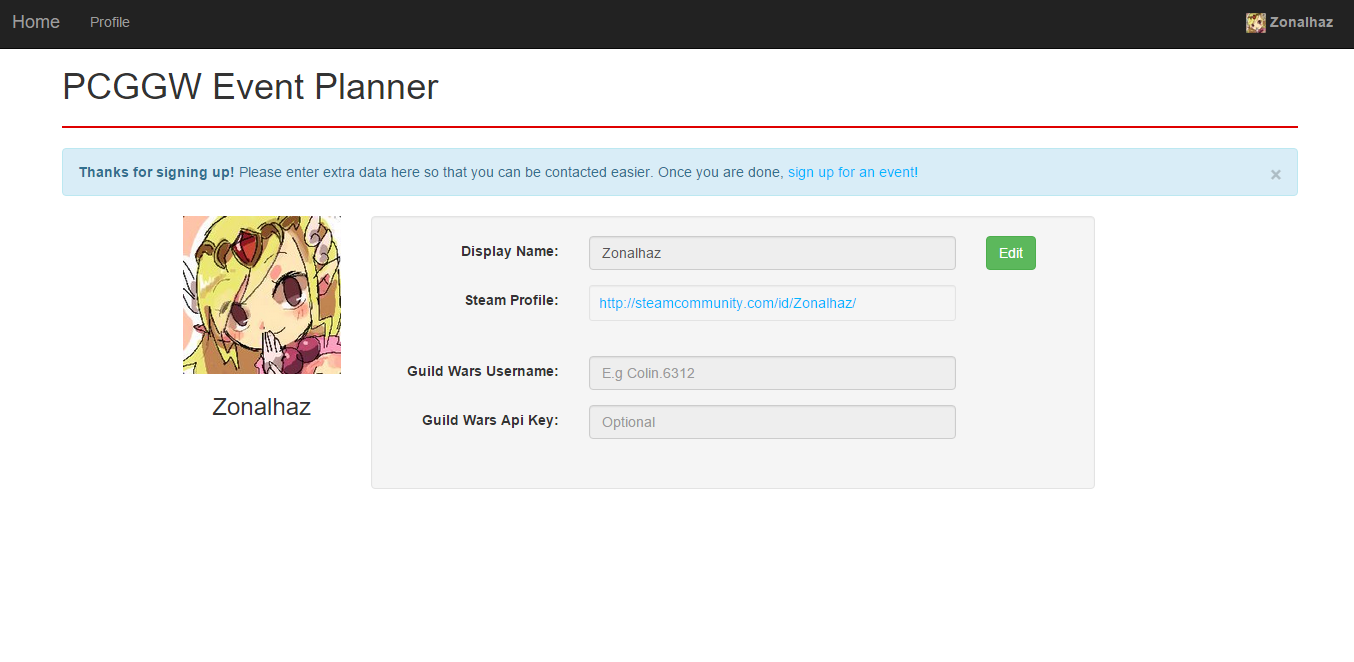
From this point I began adding more desired features one at a time to ensure the website was always usable, adding a comment system and improving the general usability of the site. To further progress with adding desired features it was clear a user login system had to be implemented. I chose to utilise Steam's OpenID API as every community member had a steam account and it avoided having to worry about password security. Using Steam's OpenID also mean I could get access to basic user information and profile pictures easily allowing profiles to be set up very quickly.
Implementing a user login system required quite a large code rewrite and took a reasonable amount of time but the functionality it provided made it very worthwhile. The user login system allowed many more features to be implemented quite easily such as allowing users to view each others profiles which useful game-related information could be added to.
More recently I was asked to make a page of the site that could be nicely embedded into the main community website so that when viewing the main page, the current events could be seen. I also added a page for being able to see an important ingame statistic taken from each user's profile.
Round-up
This project is ongoing as more features are requested and implemented to continually improve the website whilst ensuring it is always usable. At the beginning of this project I had never developed a website utilising a custom server or database before and the learning curve was quite steep but I learnt a lot and am very happy with how it has turned out.
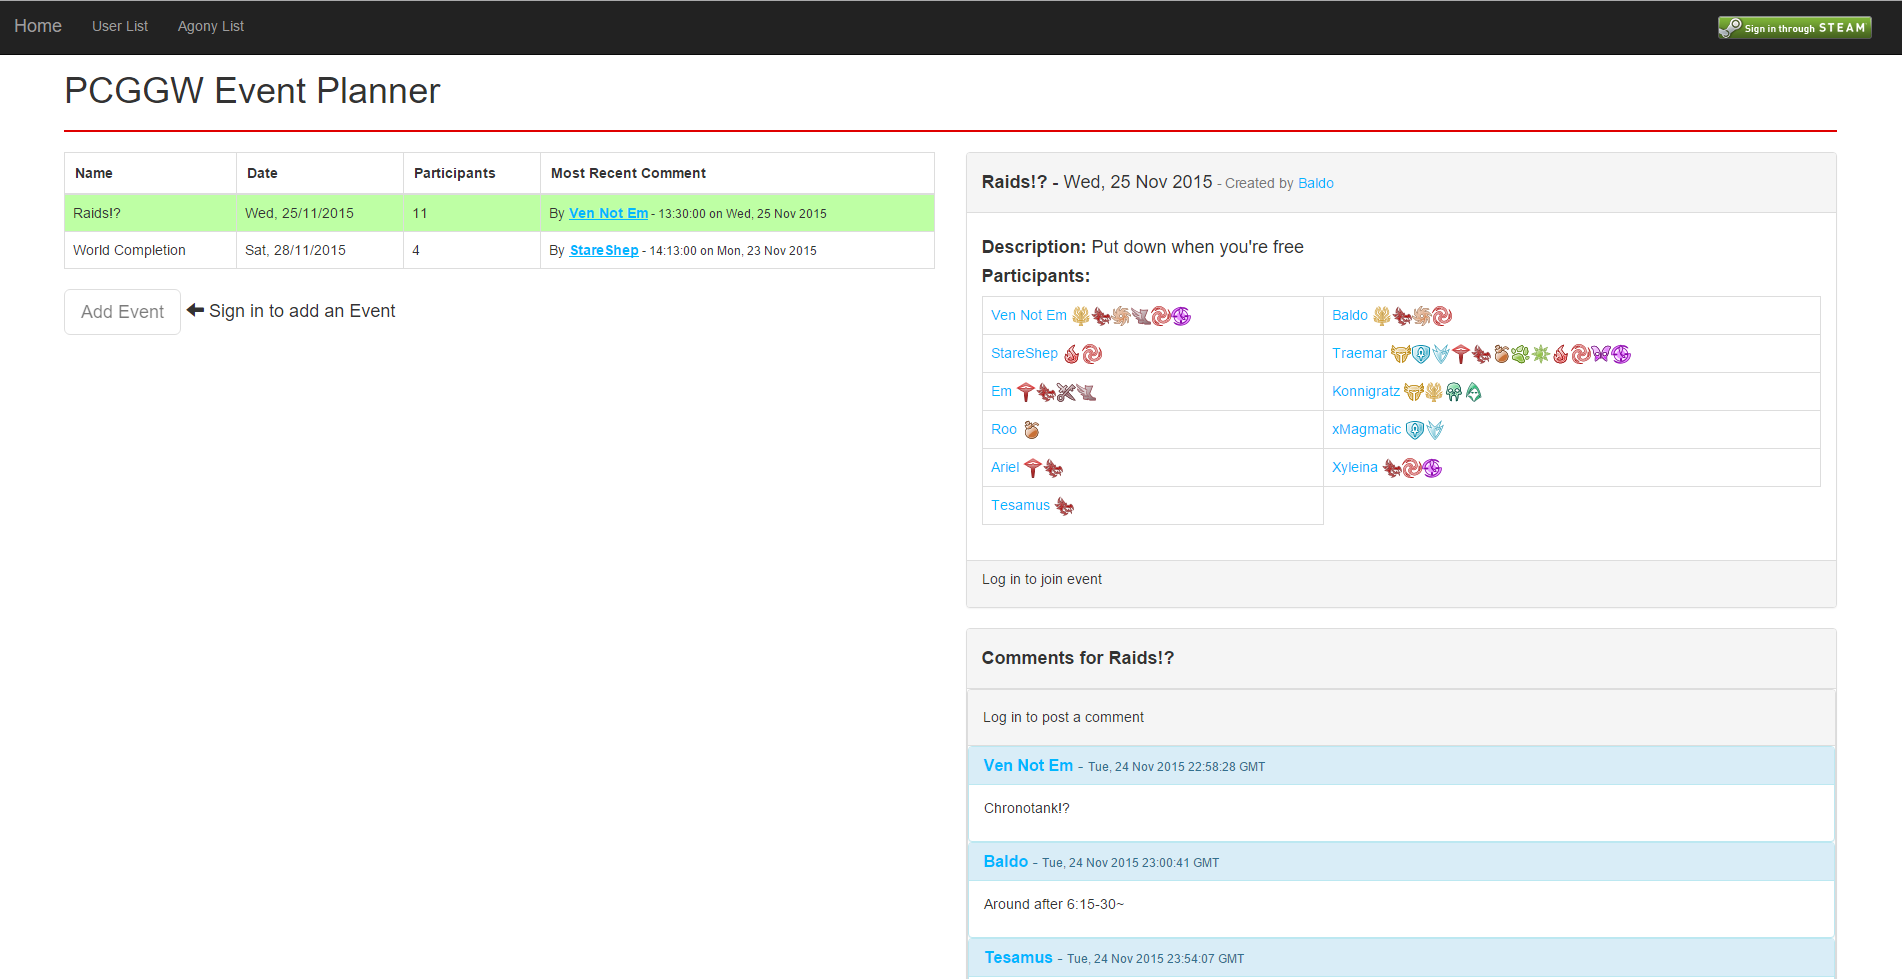
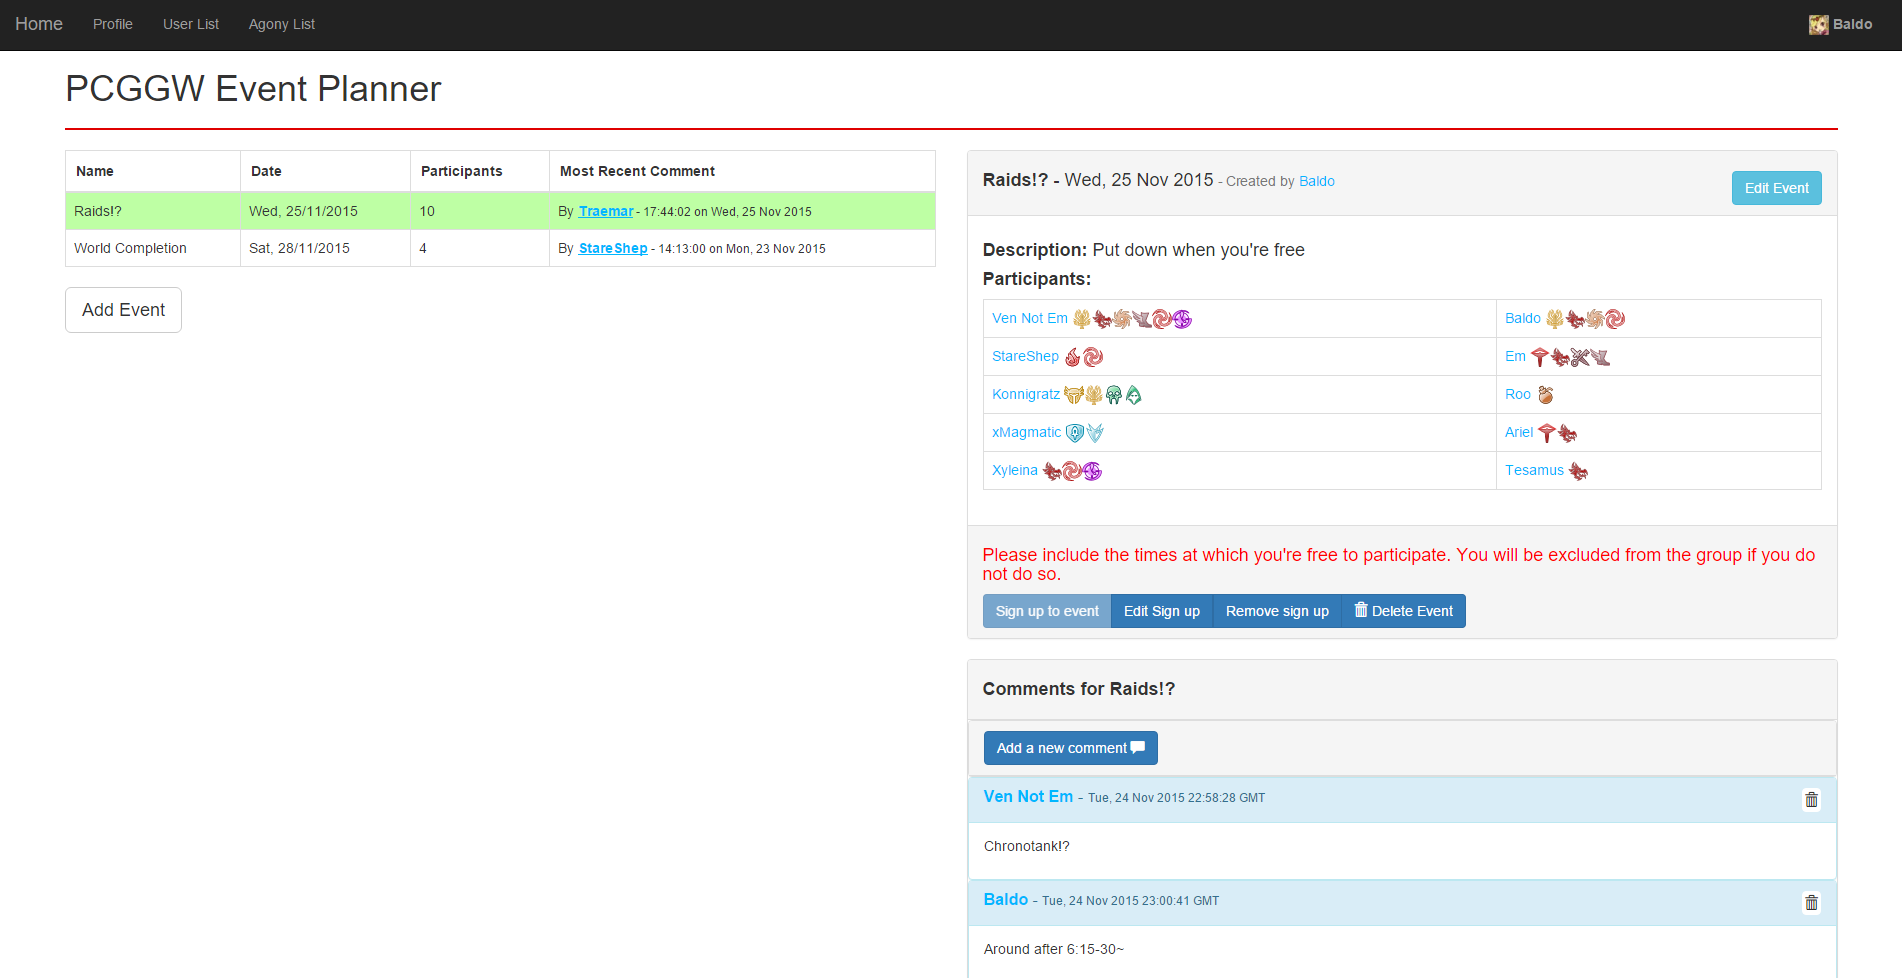
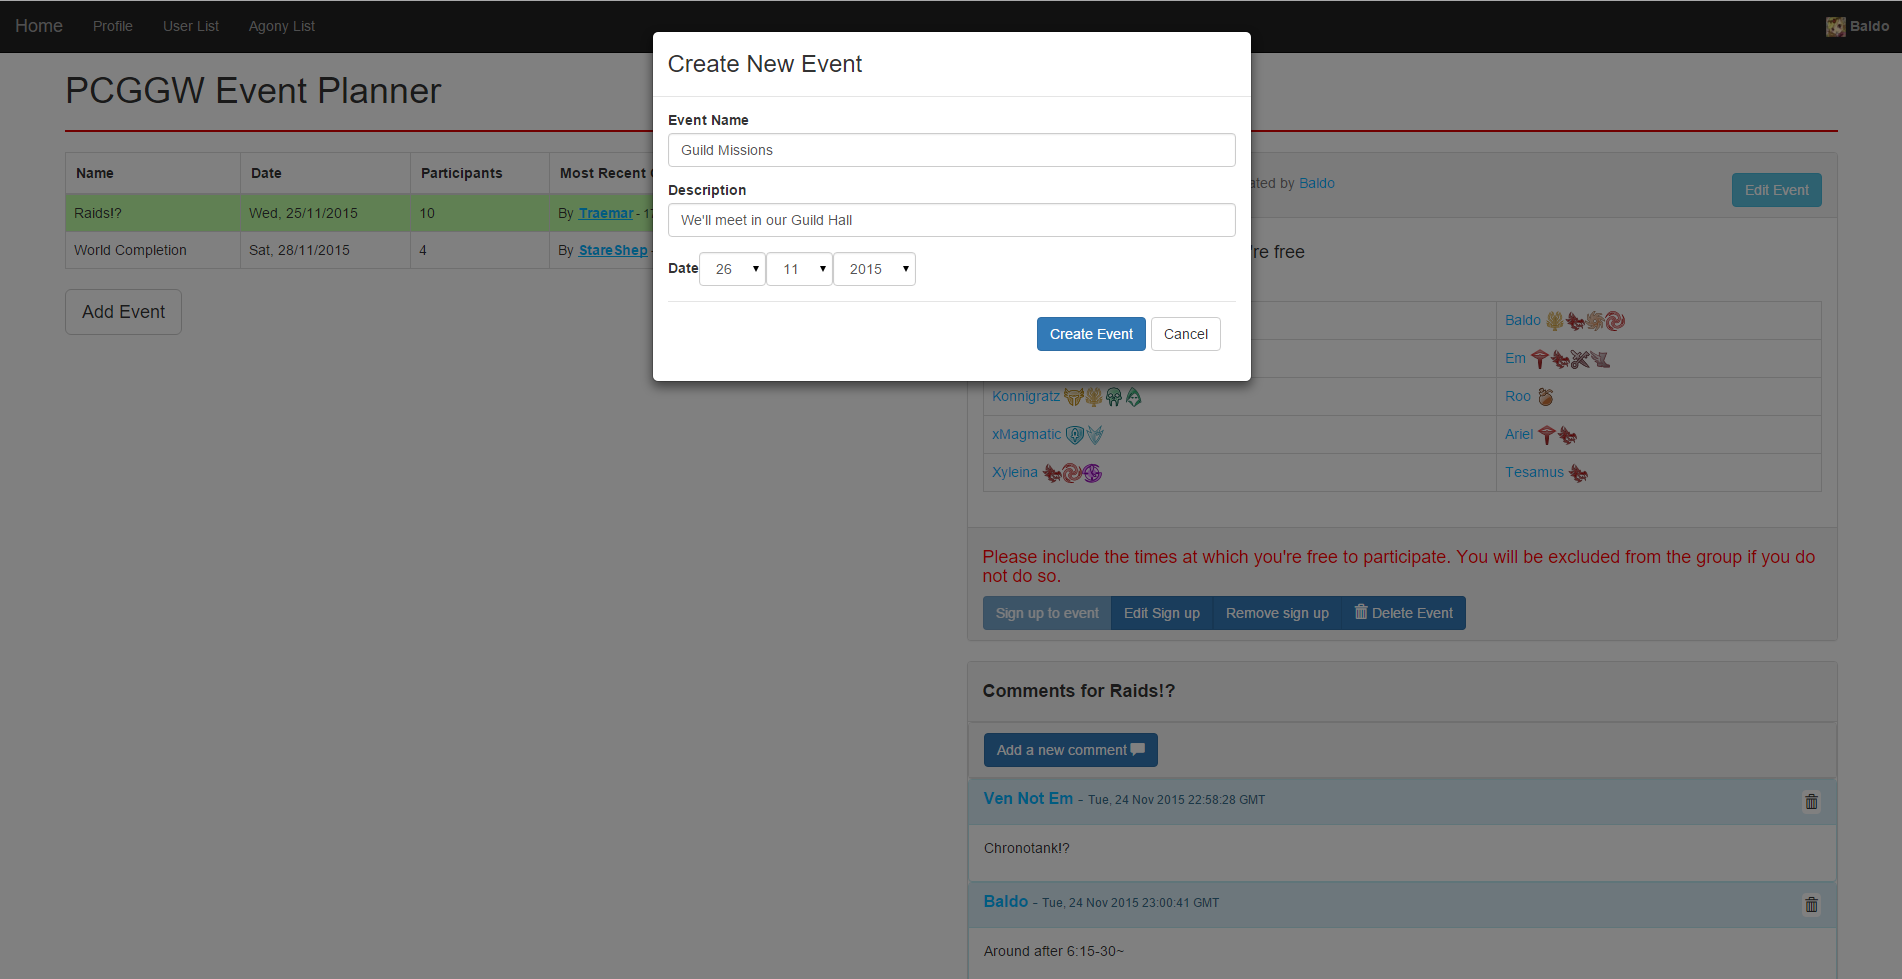
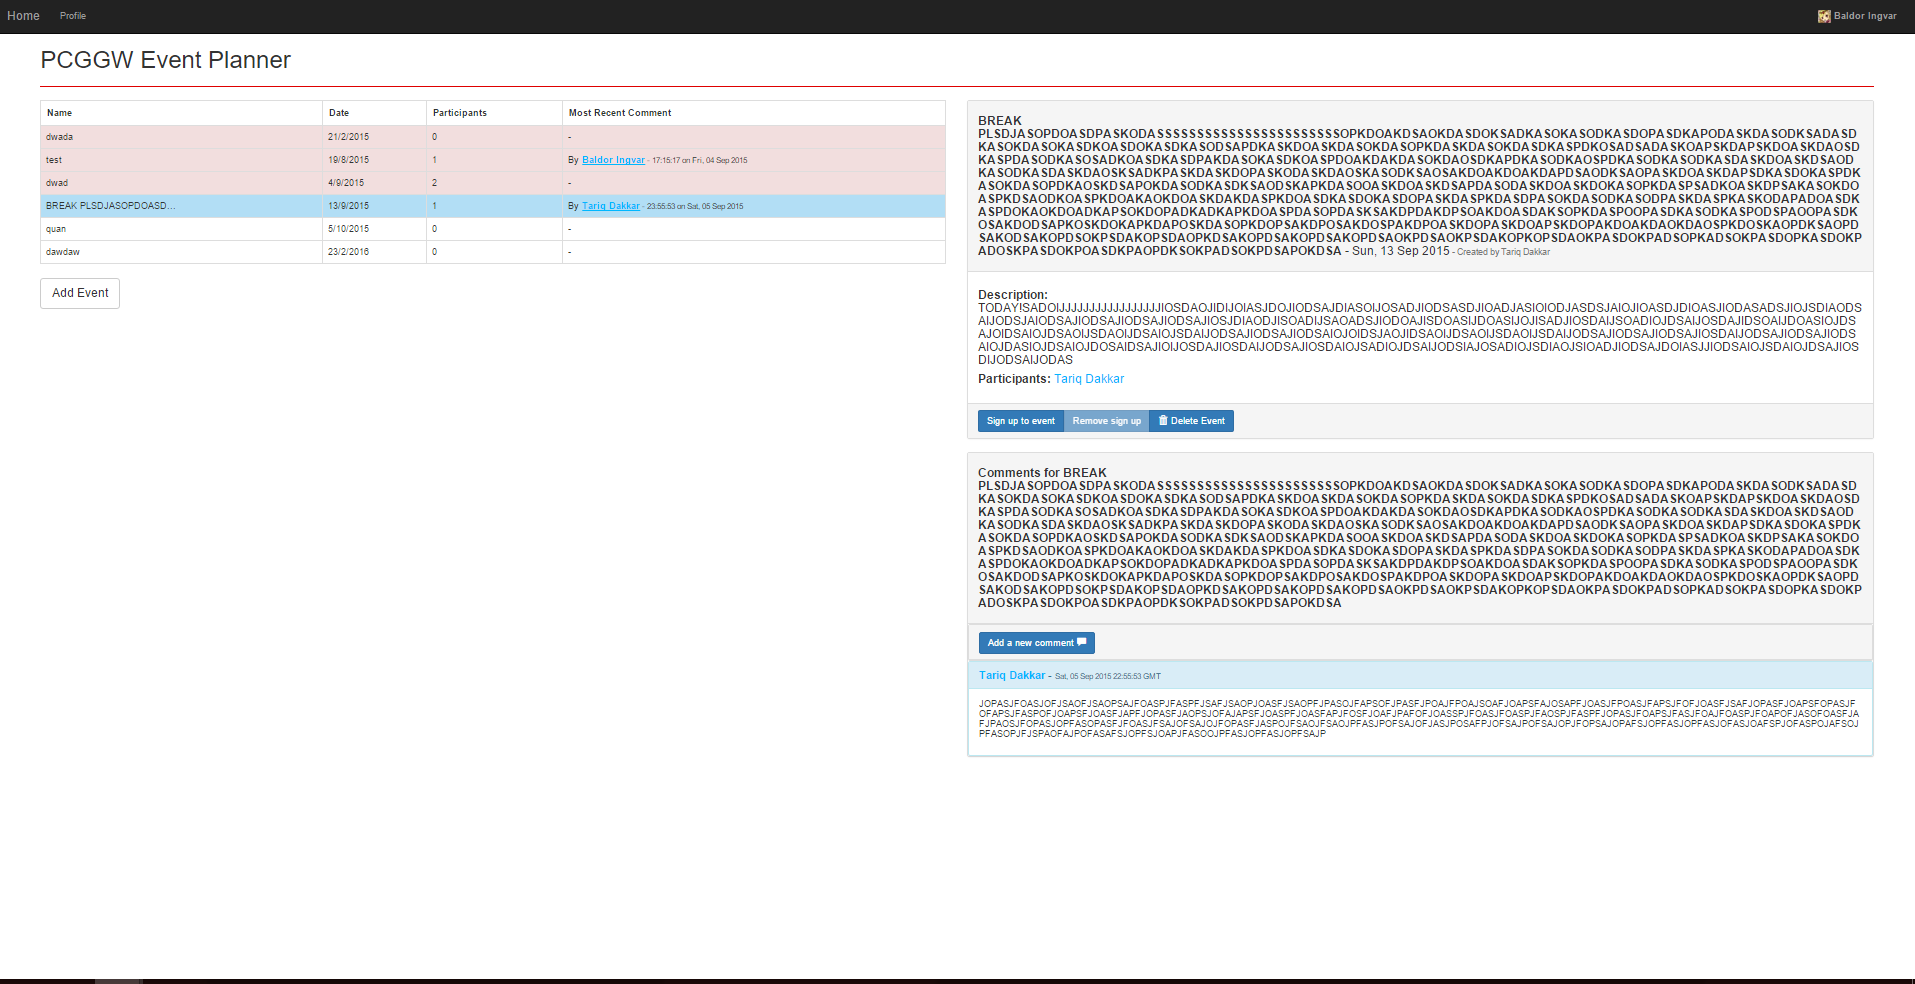
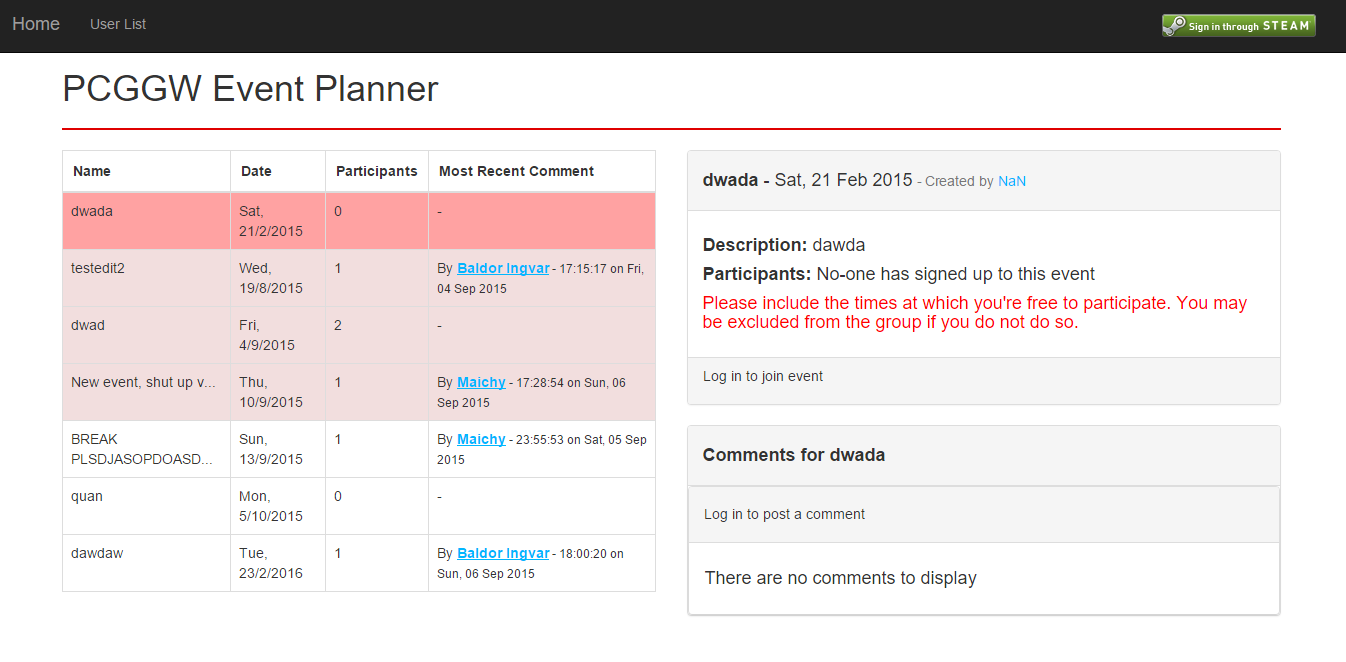
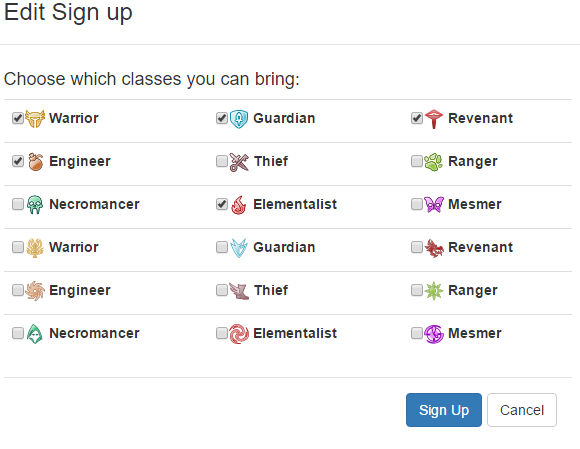
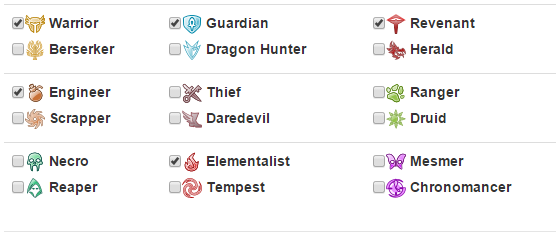
Current Site Screenshots
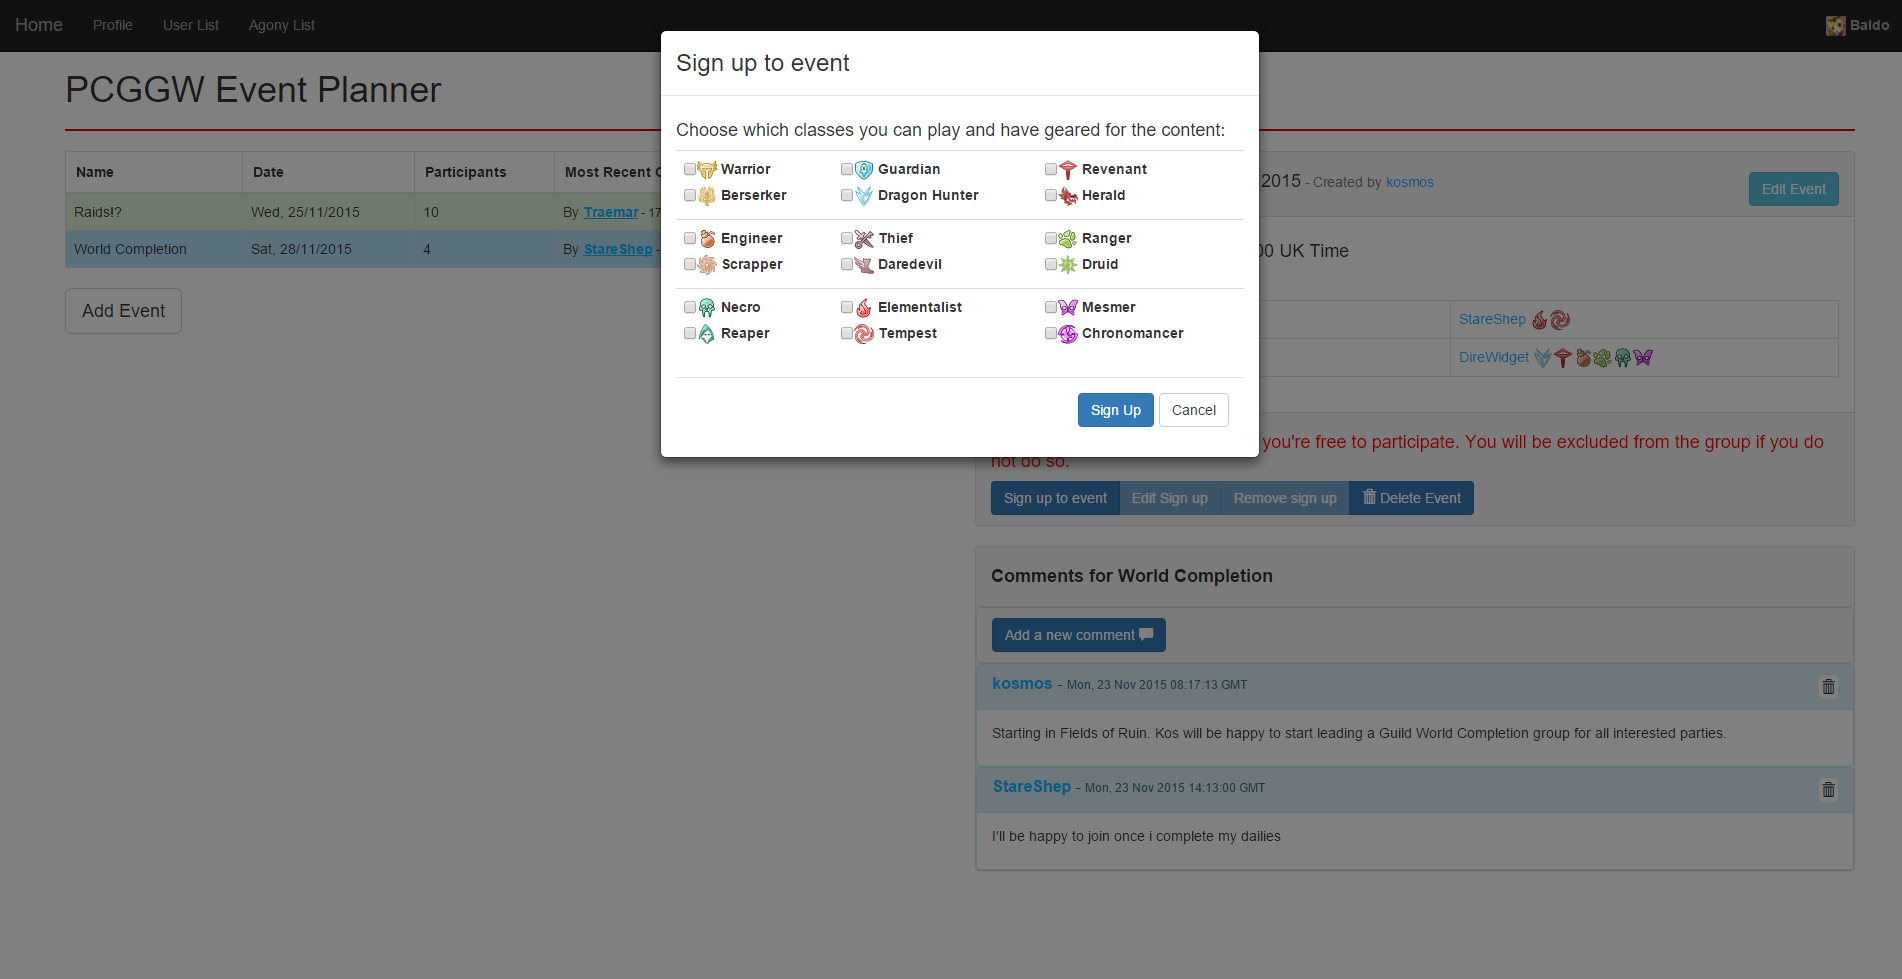
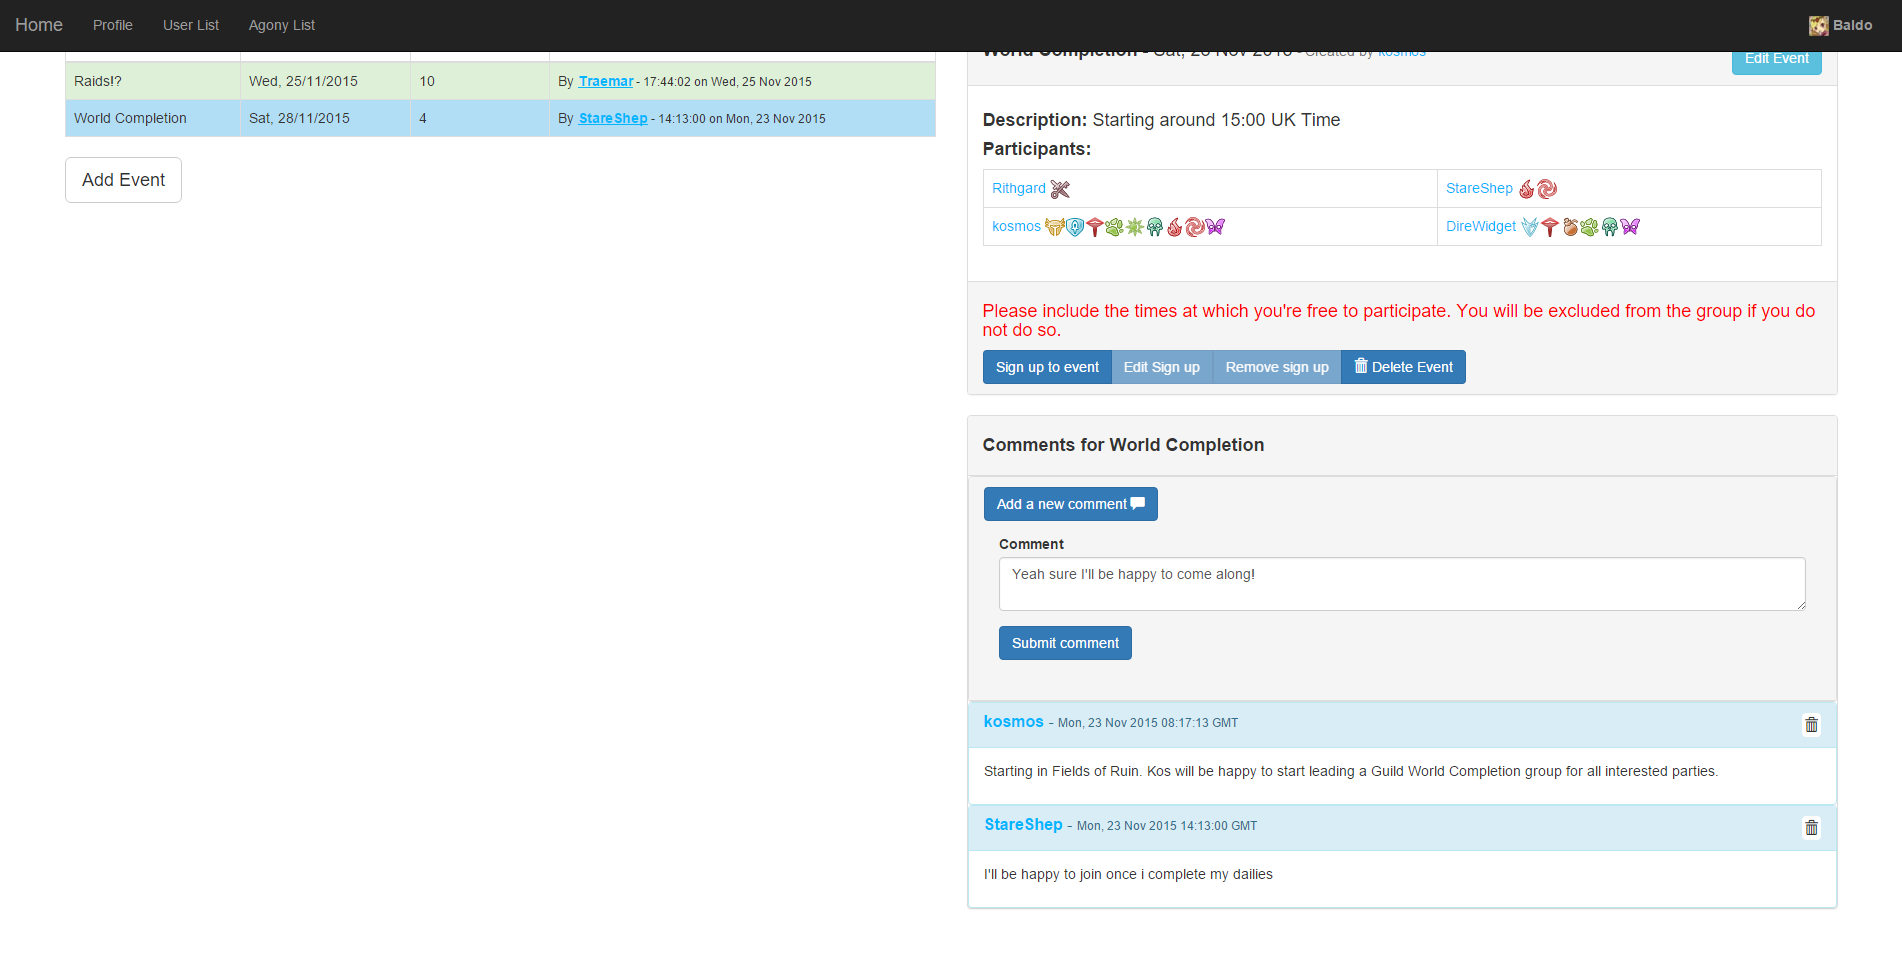
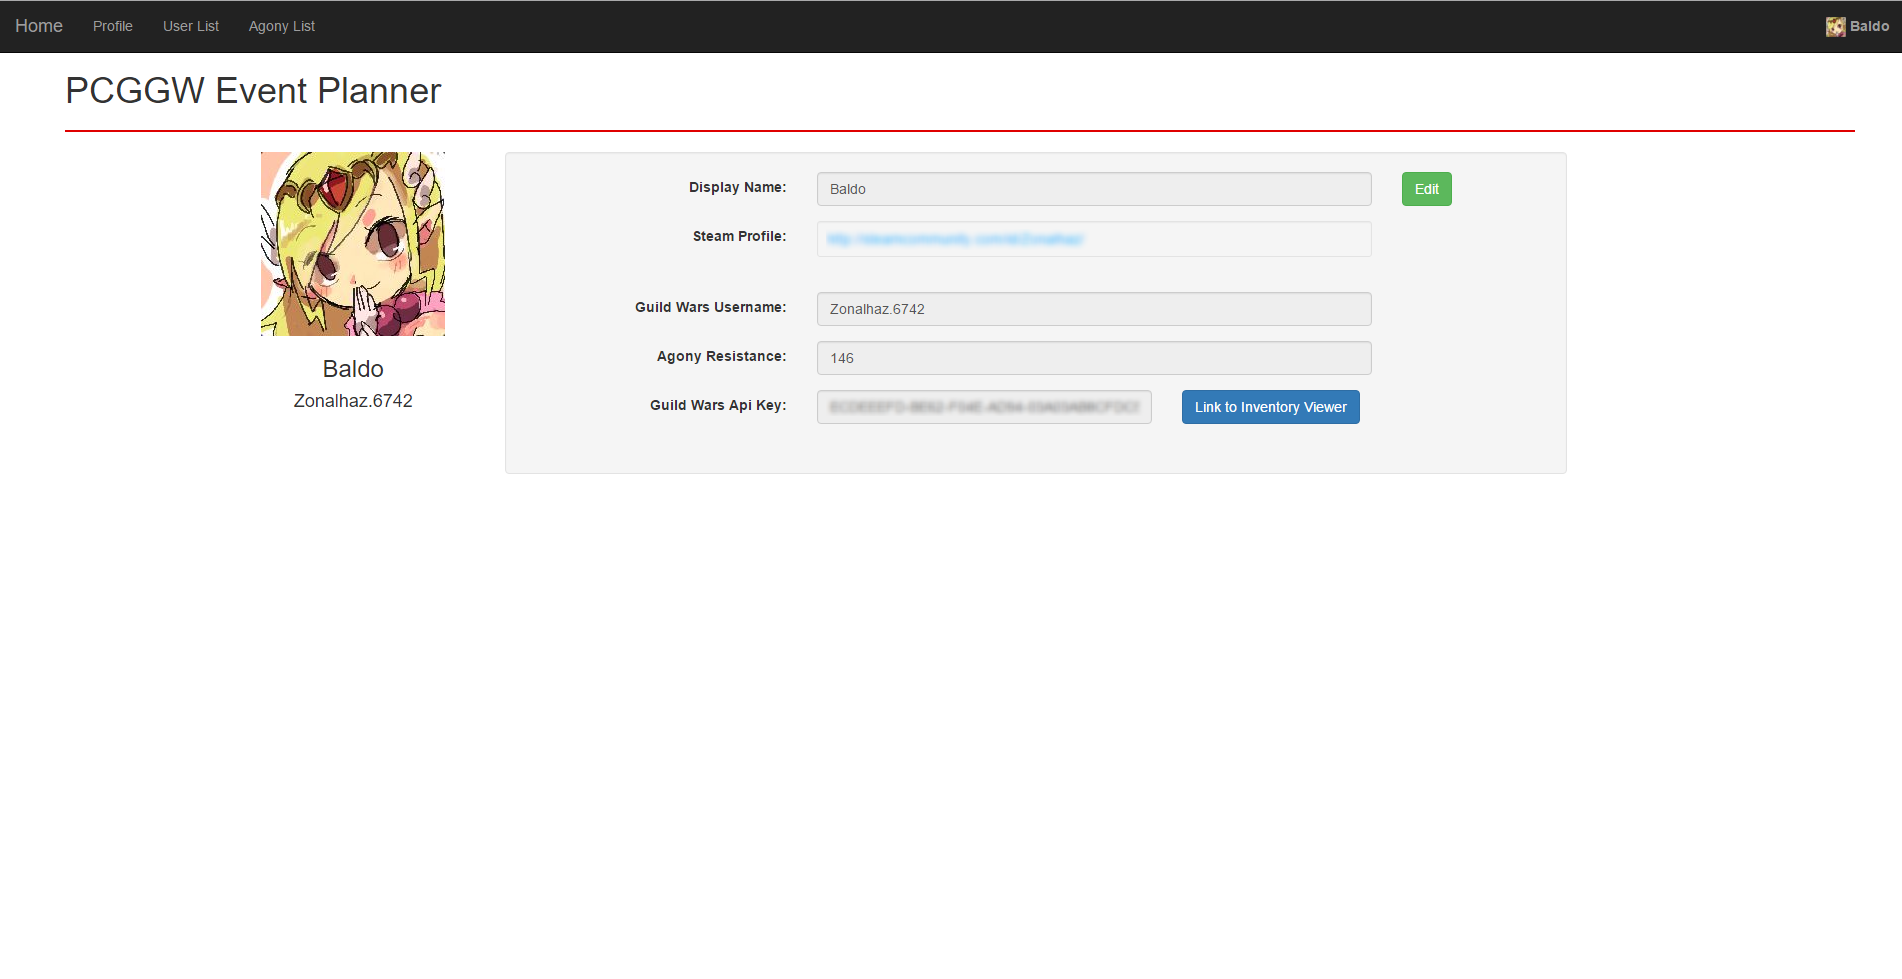
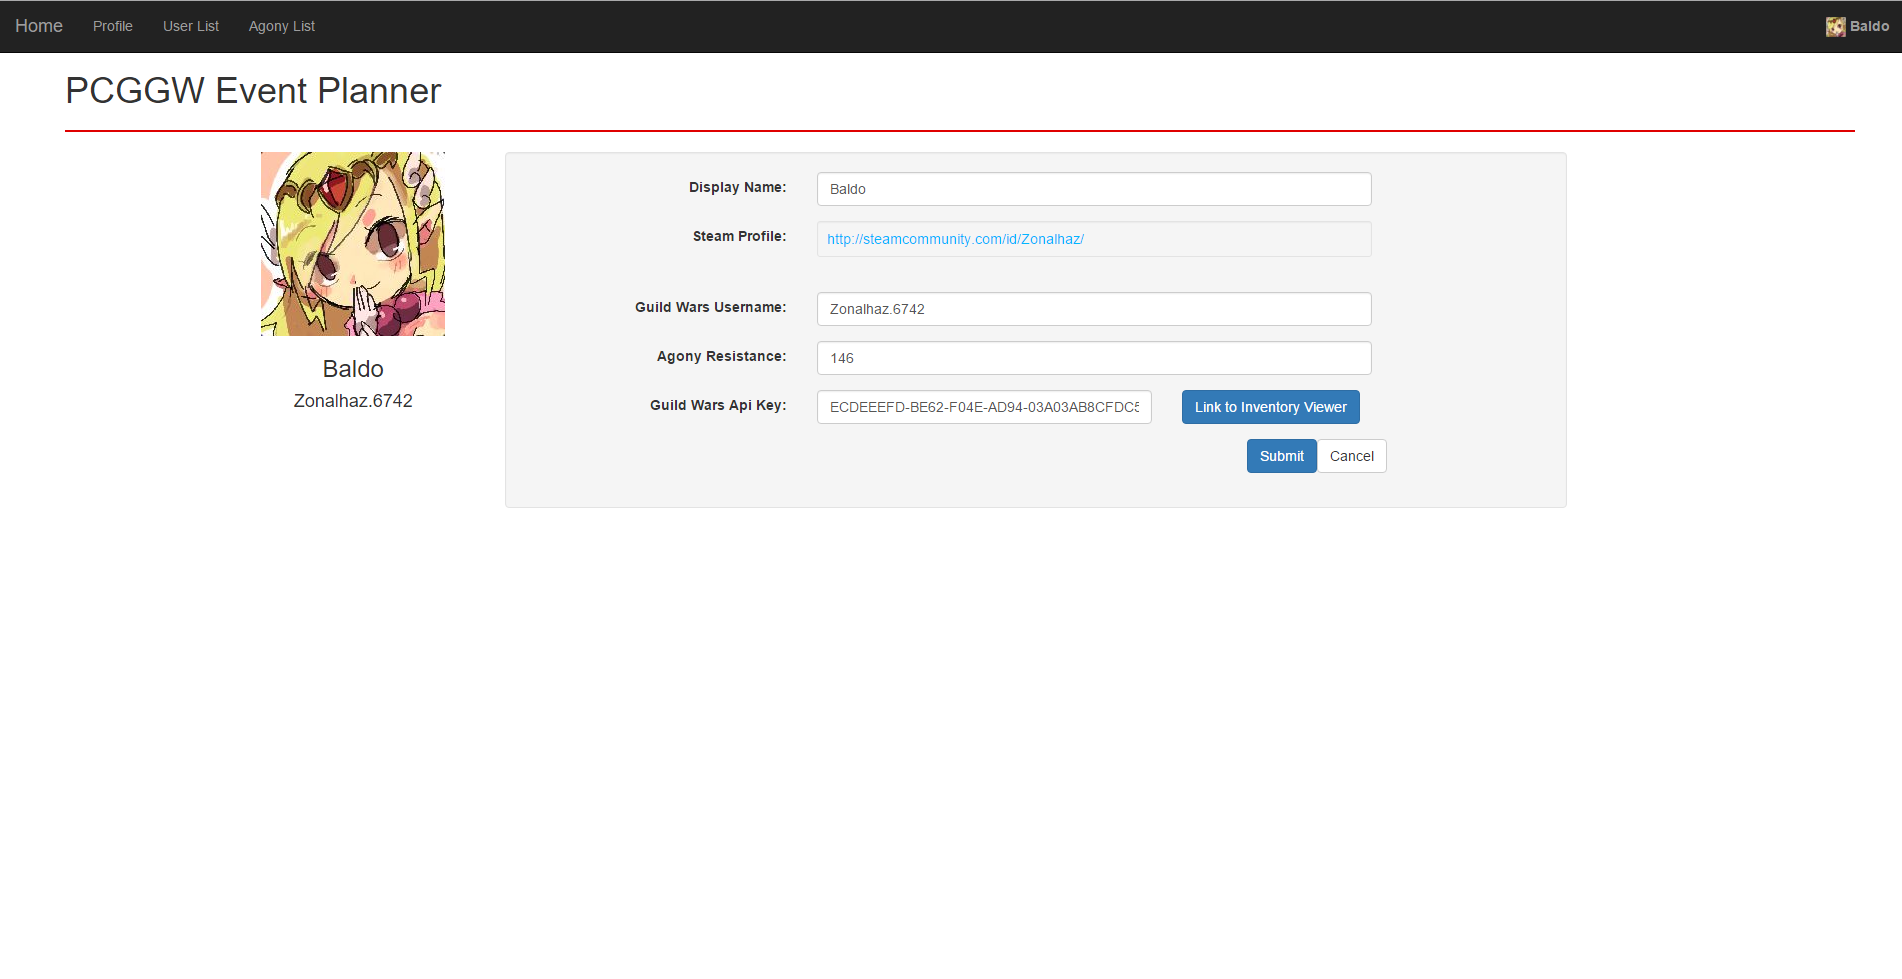
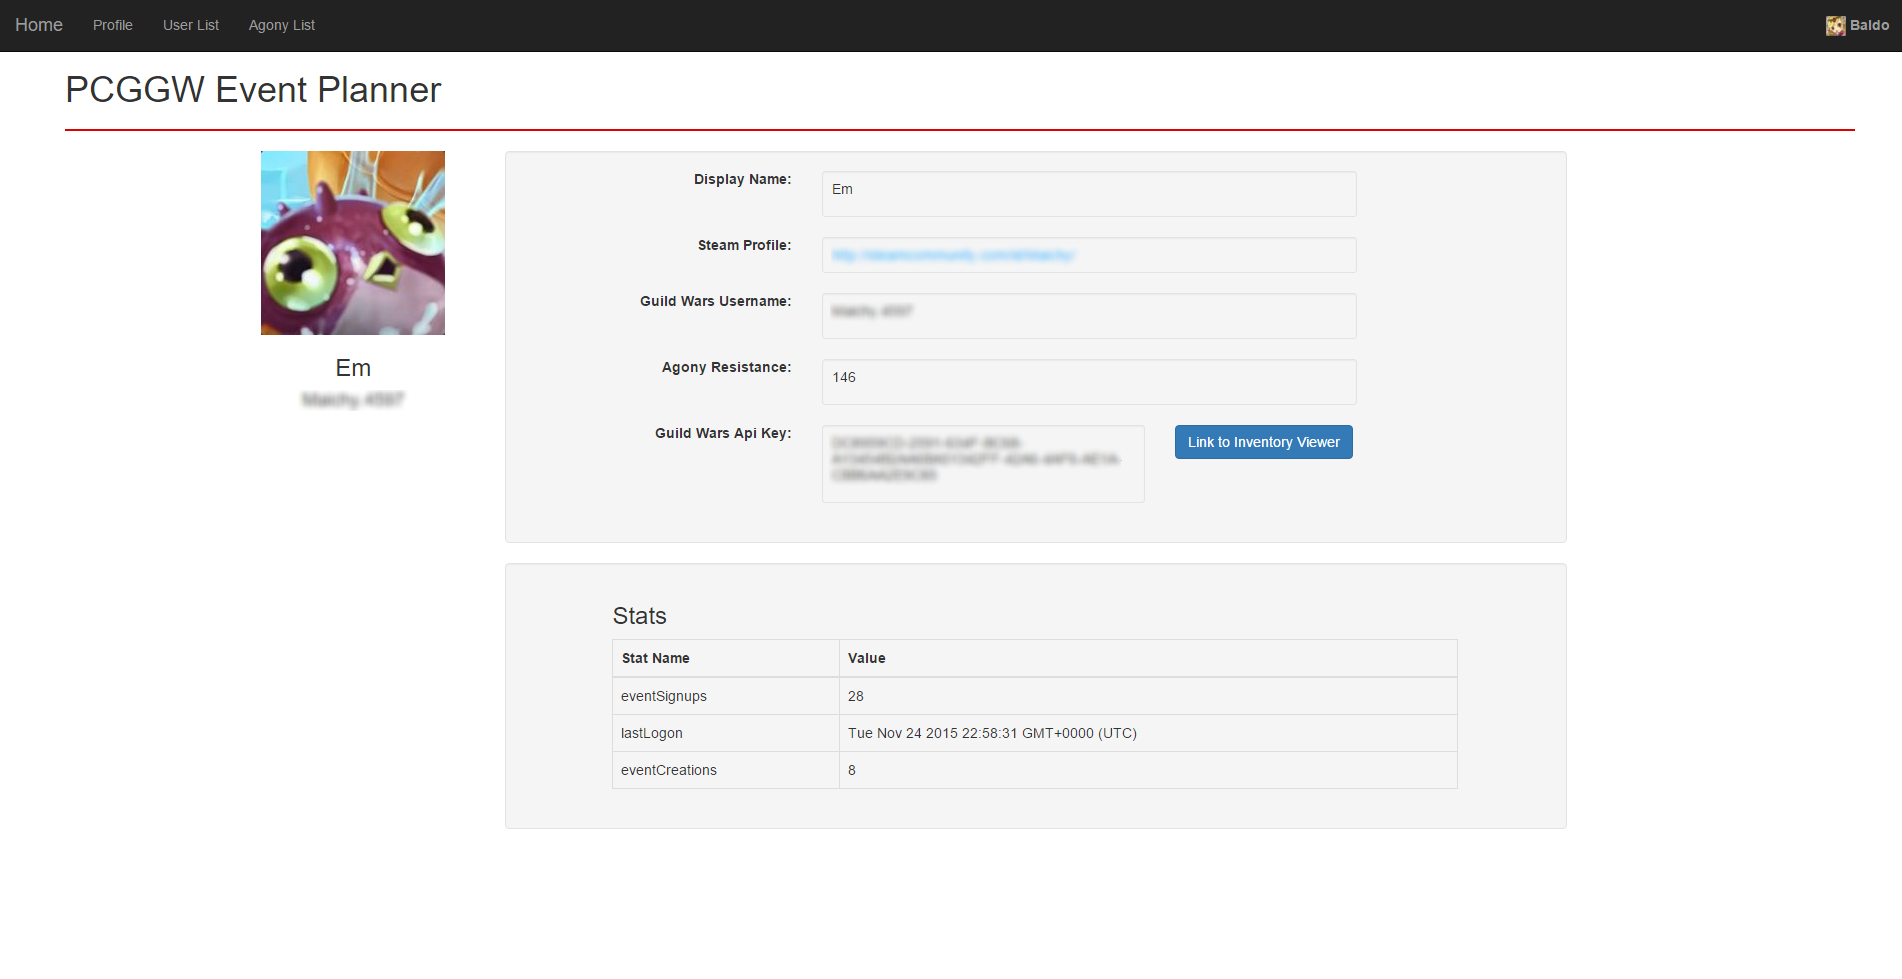
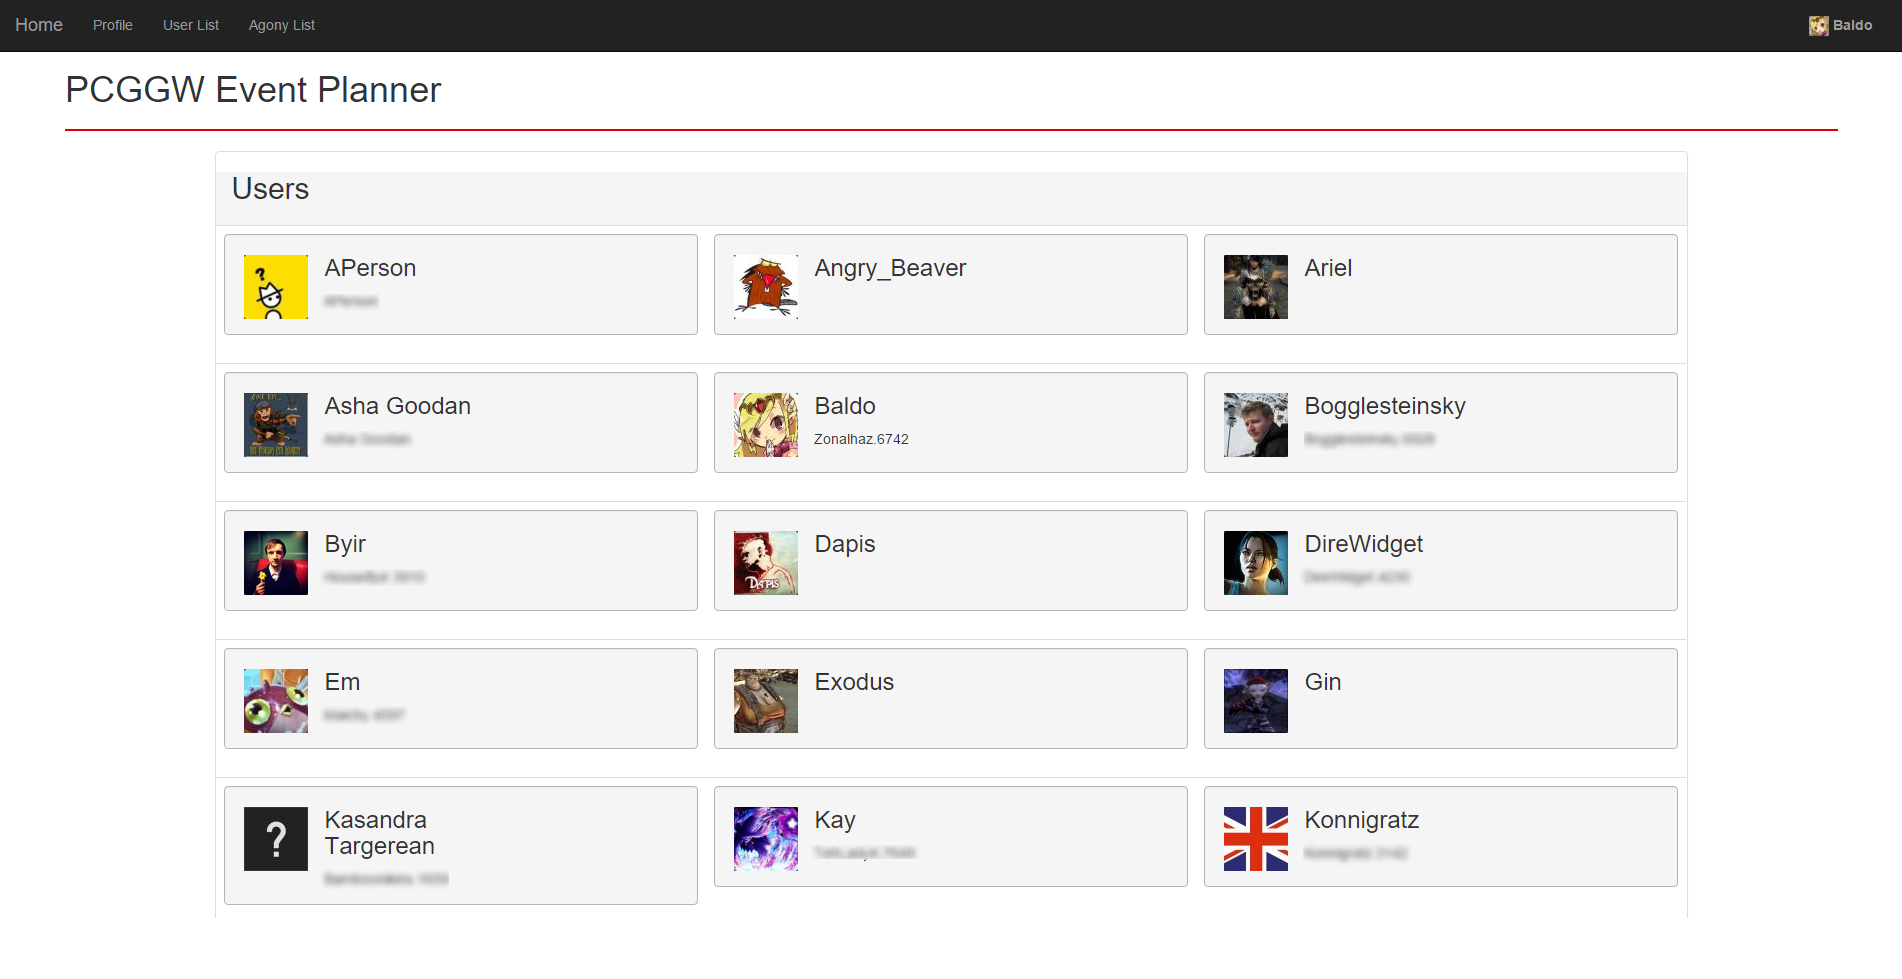
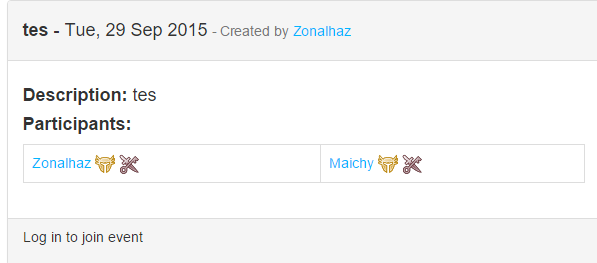
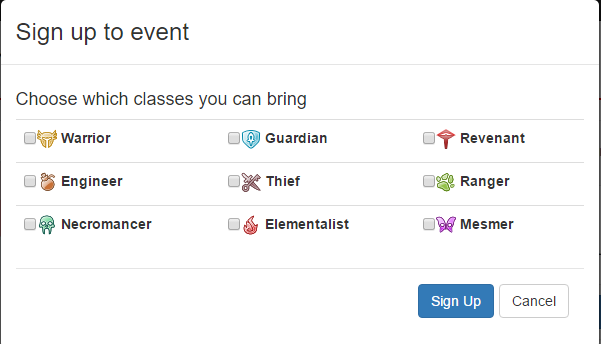
Various Development Screenshots


Theatre Booking System & Fault Tracking System (2012-2014)
A-Level Computing Projects
As a part of my A-level Computing, I had to individually create two applications. For the first year, I had to create a theatre booking system. For the second year I had to choose a problem faced in the real world. I chose to create a fault tracking system to be used in the construction sector. I used C# Windows Forms as the basis of both programs.
Creating these systems involved going through the entire design process from creating mock-ups through to pseudo code, bug tracking and documentation.
- C# - Used for implementing most of the application – Forms, validation, functions etc.
- MySQL – Used in creating and managing a relational database with several different tables.
- JSON – Used in storing important information in an organised way.
Theatre Booking System
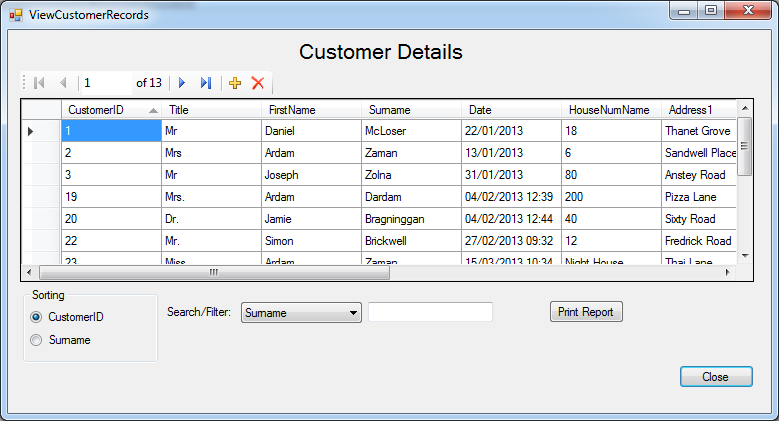
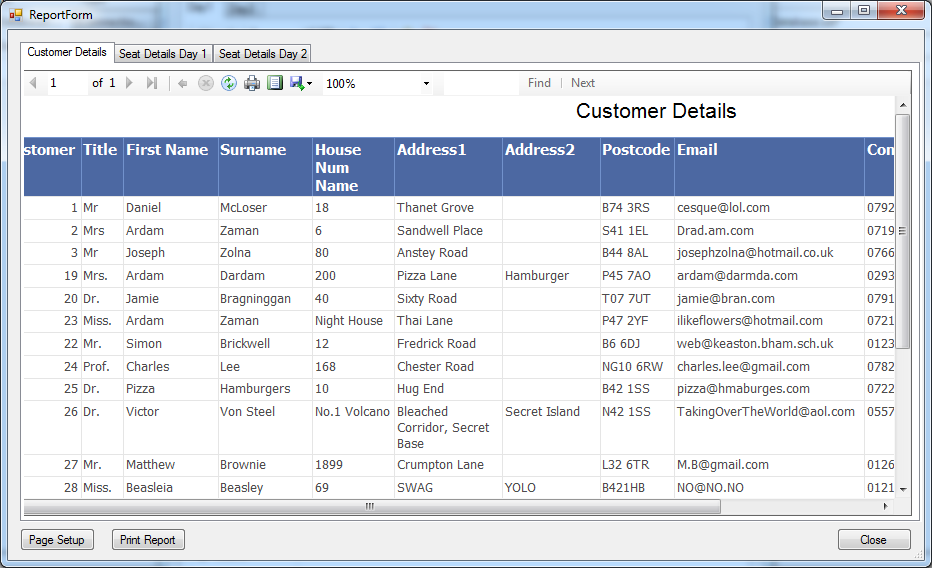
As part of the Project there were three documents I had to produce. Analysis and Design, Program Documentation and Testing and Evaluation. The entire process of creating the system from start to finish was recorded in these documents.
Analysis and Design
This section included setting out the main aims and limitations of the system as well as justifying the chosen implementation. I then planned out the database tables that would be used. Next was to make mockups for the user interface, explaining the functionality of the UI. I also created flowcharts and pseudocode for the main system functionality.
Analysis and Design PDFProgram Documentation
This document contains the documentation for all variables and data structures used as well as annotated screenshots of every element of the User Interface. Finally, this document contains the fully commentated source code.
Program Documentation PDFTesting and Evaluation
The testing and evaluation section was required by the exam board to contain the outline of a testing strategy followed by documented evidence and screenshots of each program feature being tested. In reality, most of this testing had already been performed undocumented during the development of the program. An overall evaluation of the system was also completed involving a questionairre and evaluating the system against the original requirements of the program.
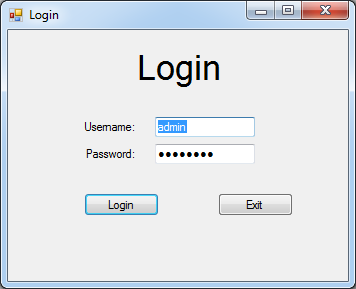
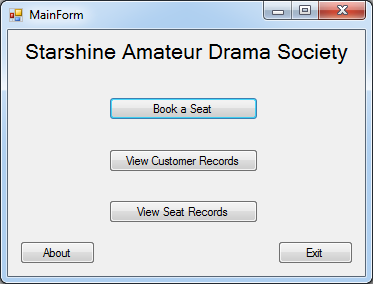
Testing and Evaluation PDFFinal Solution Gallery
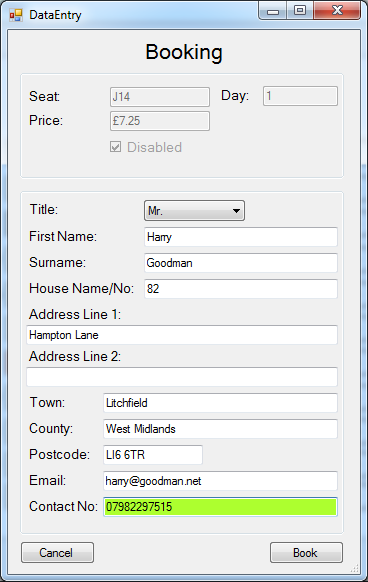
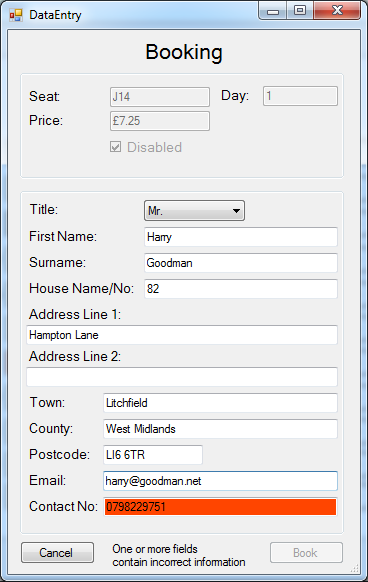
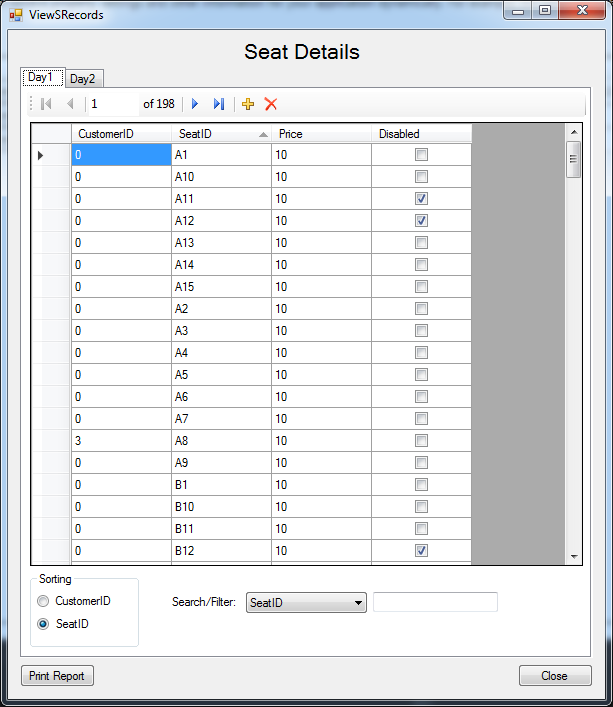
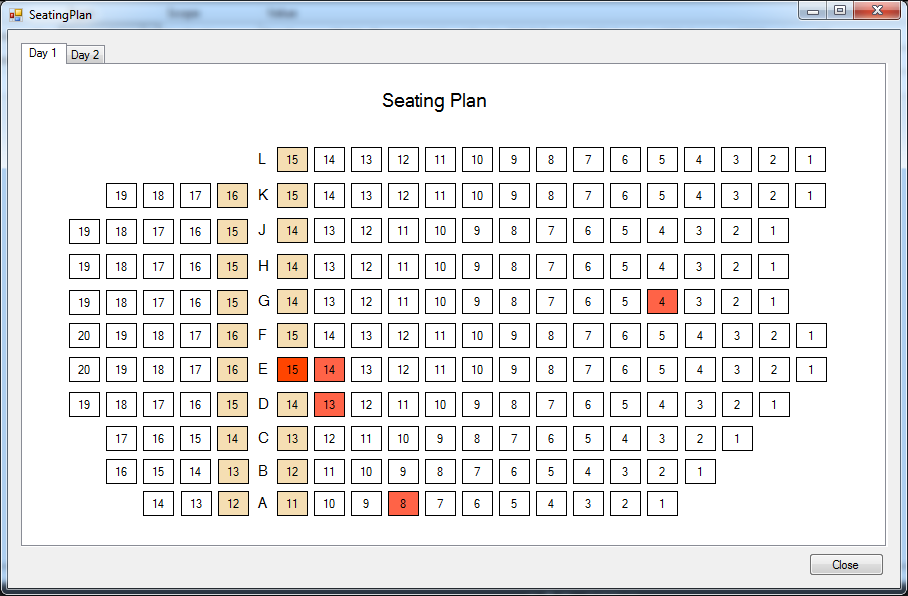
Fault Tracking System
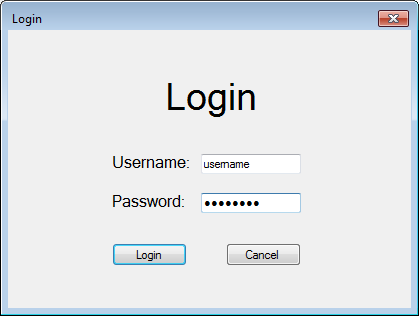
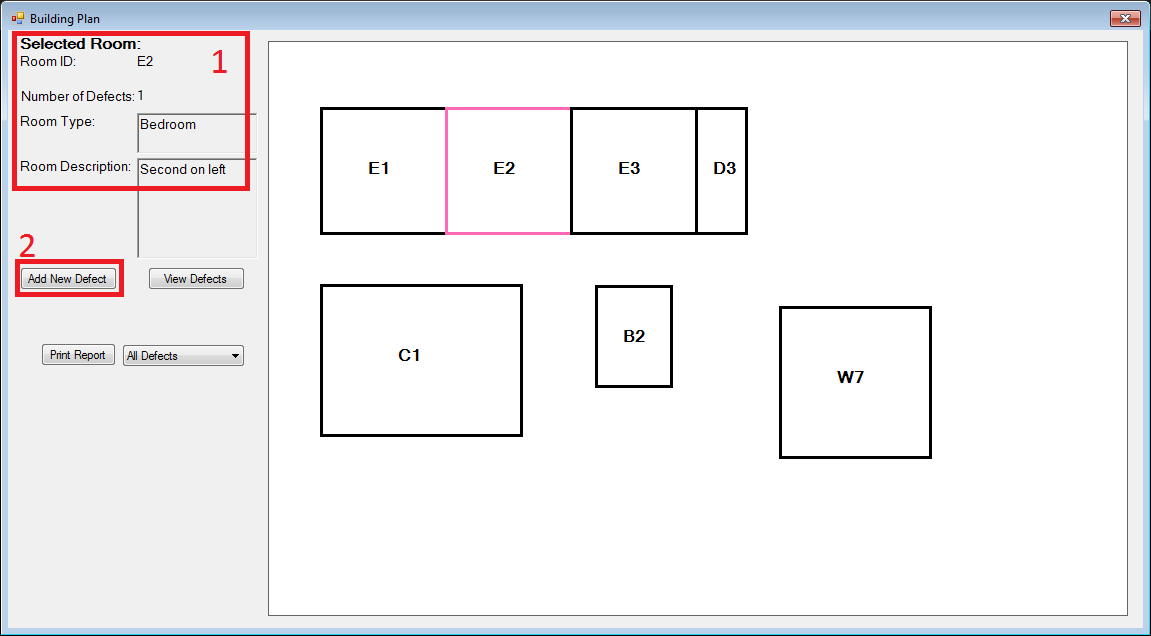
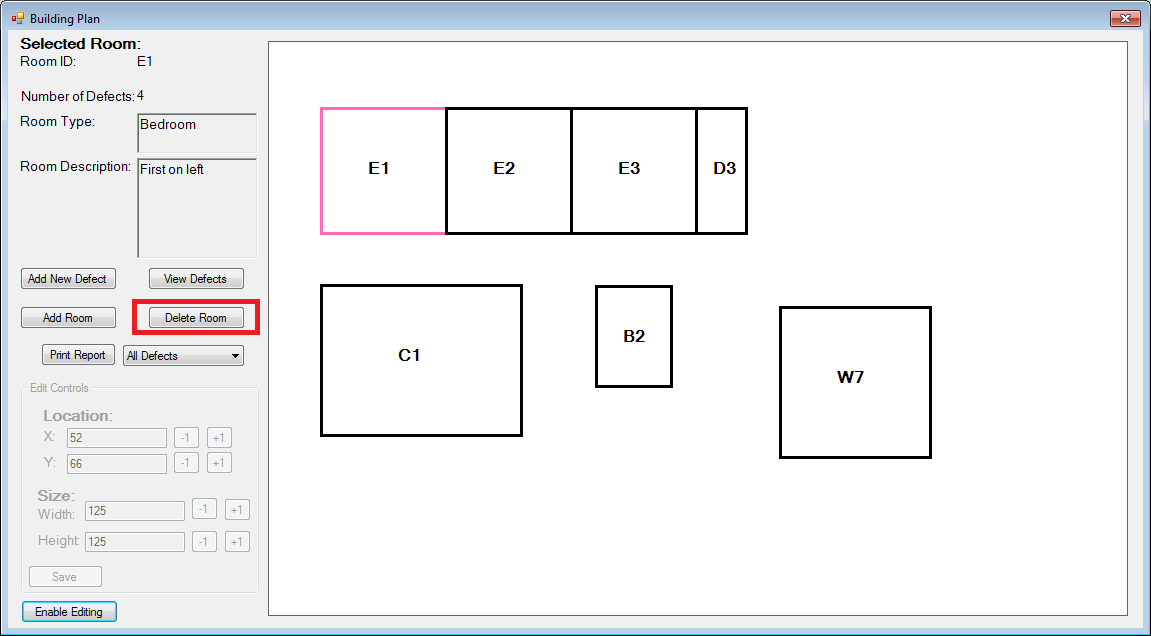
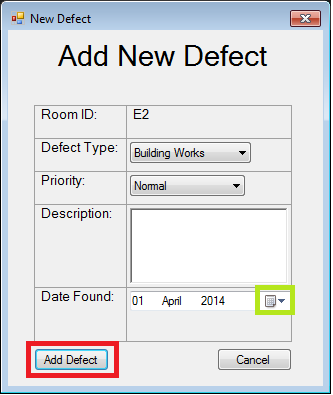
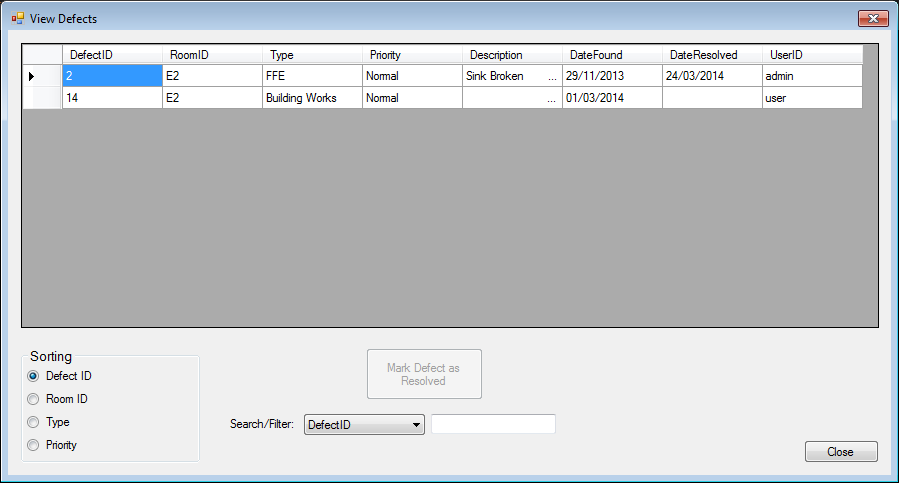
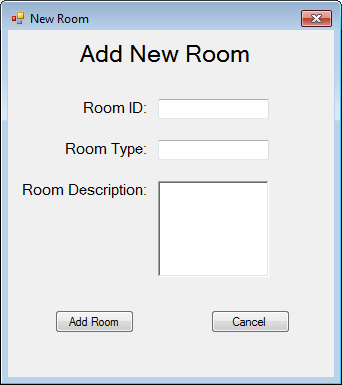
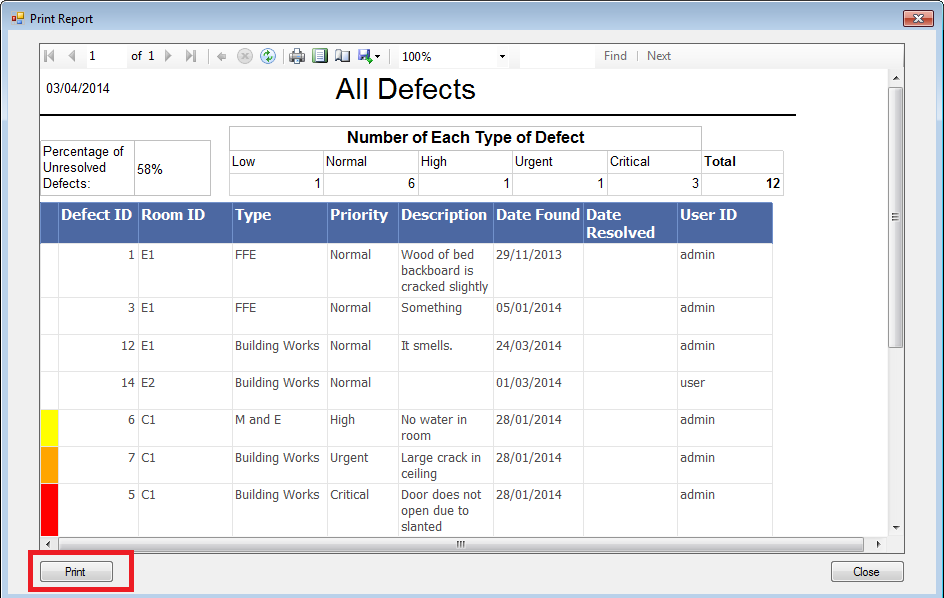
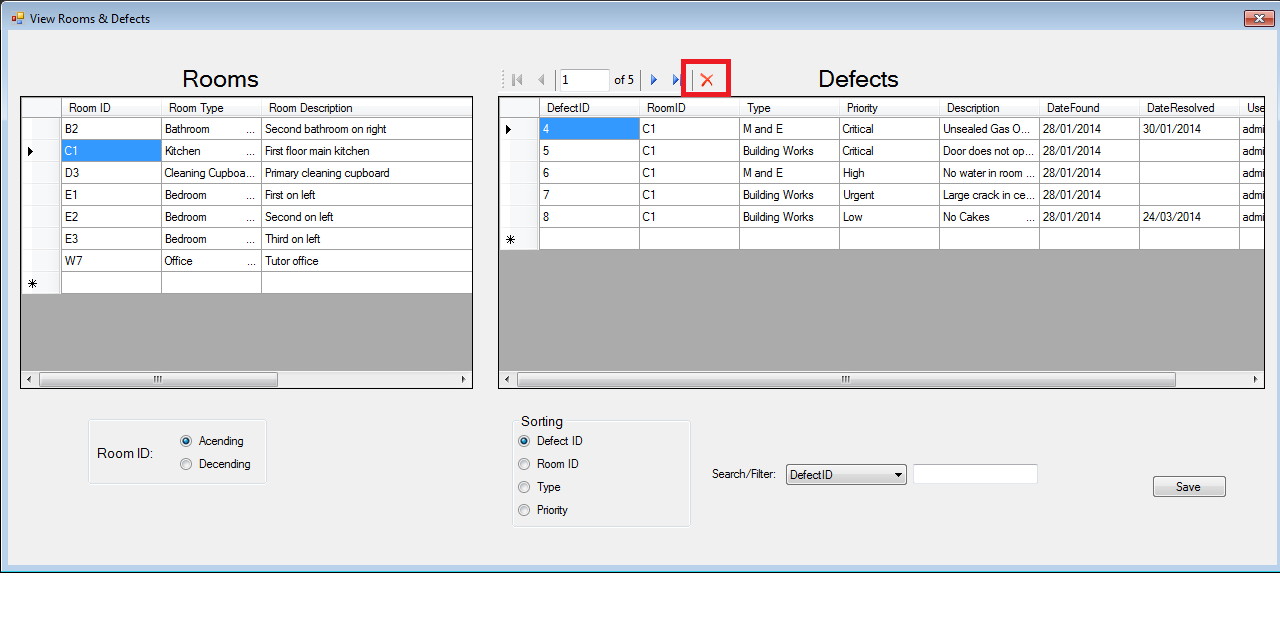
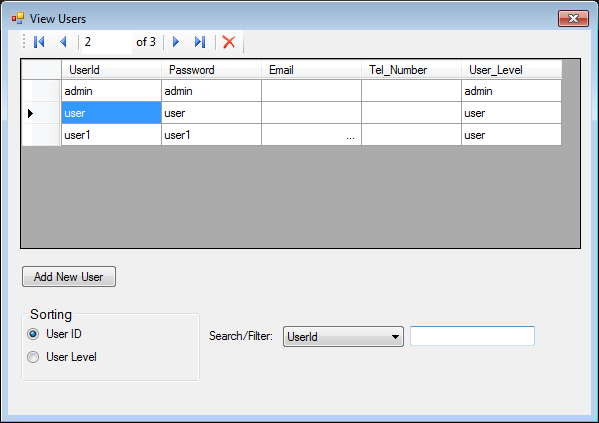
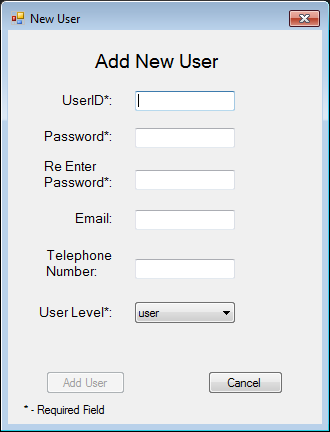
This was the project I completed as part of my A2. For this project I had to find a real problem that I could create a solution for. I chose to create a program to allow building faults to be tracked during construction of new buildings. I had to create seven different documents detailing the different stages of the project development.
Analysis PDF The analysis document contains a background to the problem as well as information detailing the current solutions to the problem and the issues with those systems. From this, objectives for the new system are made.
Design PDF The design document contains annotated UI mockups, formats for files and data structures, details on validation, flowcharts for major system functions and pseudocode for most features.
Maintenance Documentation PDF The maintenance documentation contains documentation for all main variables and the documented source code
Testing PDF This document contains a record of the testing of all main program features along with screenshots
Evaluation PDF I evaluated the results of the testing and showed that the original objectives set out in the Analysis document were met by the solution.
User Documentation PDF Finally I created rudimentary documentation for so users can quickly aquaint themselves with the system
Final Solution Gallery
Desk Lamp Controlled by a Pebble and Raspberry Pi (August-September 2014)
For The University of York Blue Pi Thinking Challenge
I developed a software and hardware project to enable the control of a desk lamp remotely over the internet using a Pebble smart watch and a raspberry Pi as part of the University of York Blue Pi Thinking Challenge. The pi ran a nodejs webserver which was used to control the lamp directly. I wrote a watchapp for the Pebble in C that allowed it to send requests to the webserver to turn the lamp on and off. I used a relay to replace the manual switch on the lamp connected to the GPIO pins of the pi.
- nodejs – Used for the webserver that was run on the pi. This supported set and get requests which allowed the lamp to be controlled.
- C – Used in creating an app for the Pebble Smart Watch.


